Make a special occasion clock is a lot easier than you may think. All you will need for the clock is a clock movement, a frame that fits your picture, and the picture you want to use for the background. You may also want a plastic clock starburst or numbers for your clock face . For our example we have created the clock face into our background. We have all the clock parts available on our website should you need to purchase them.
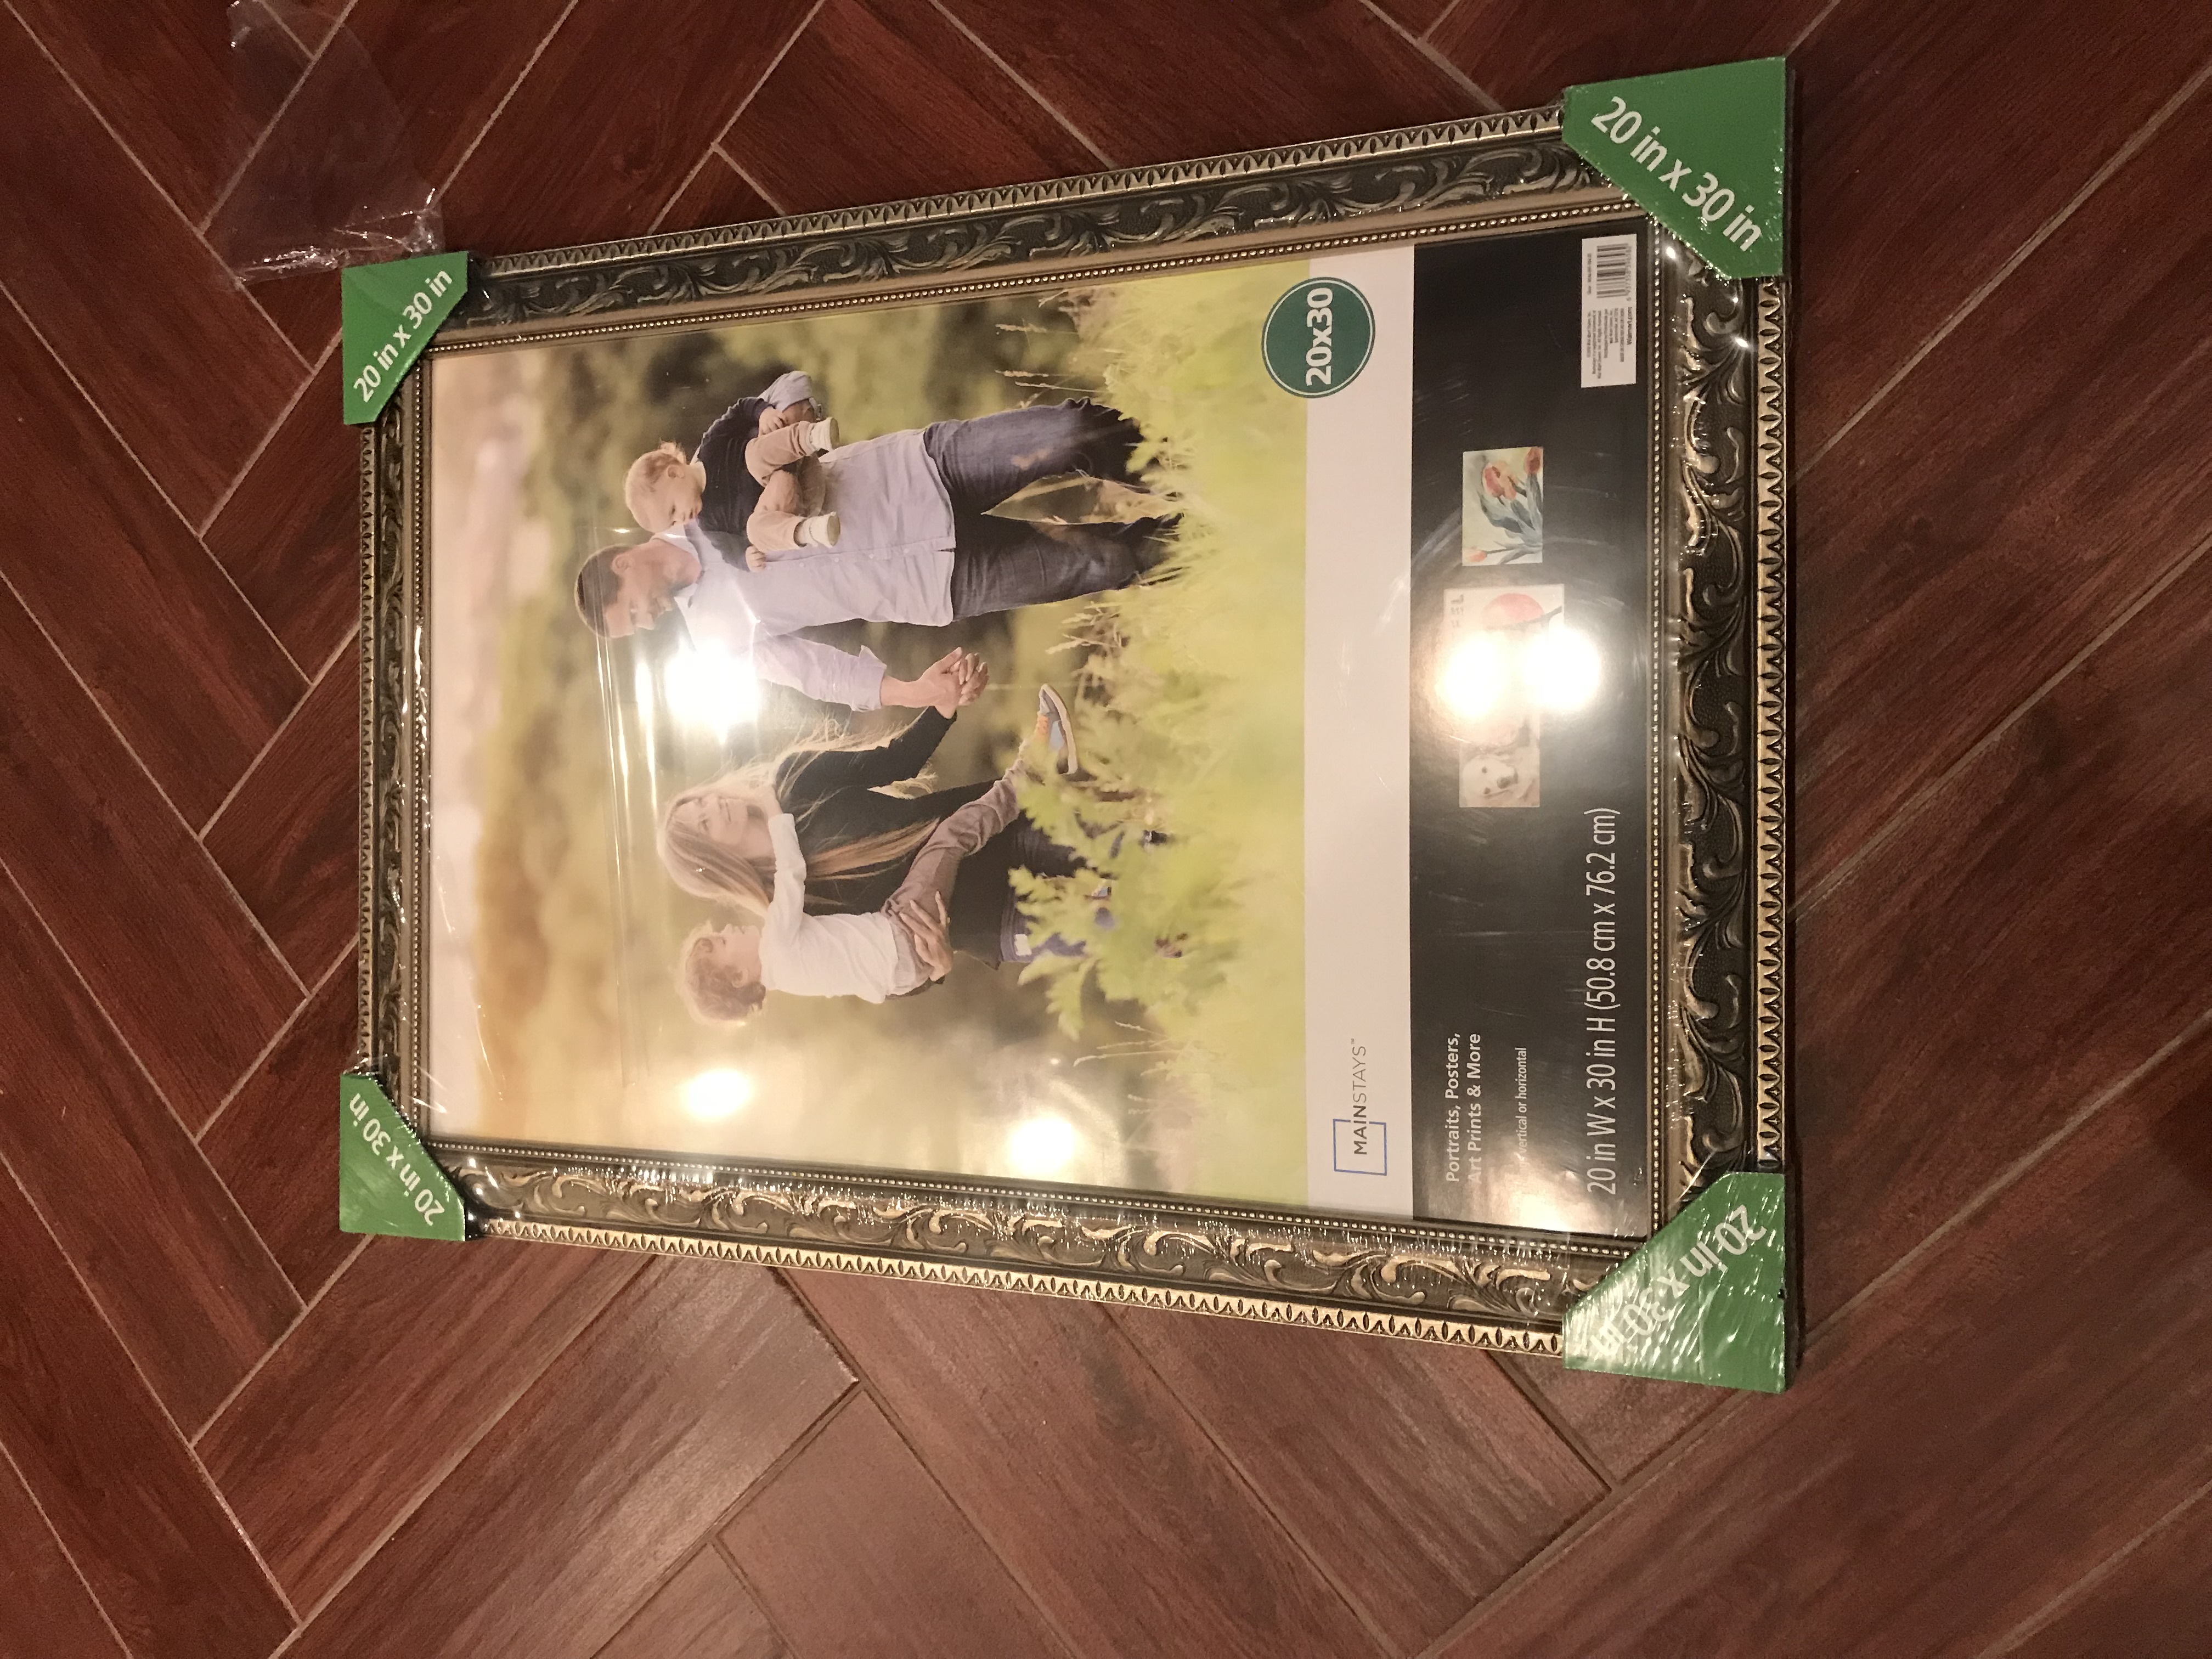
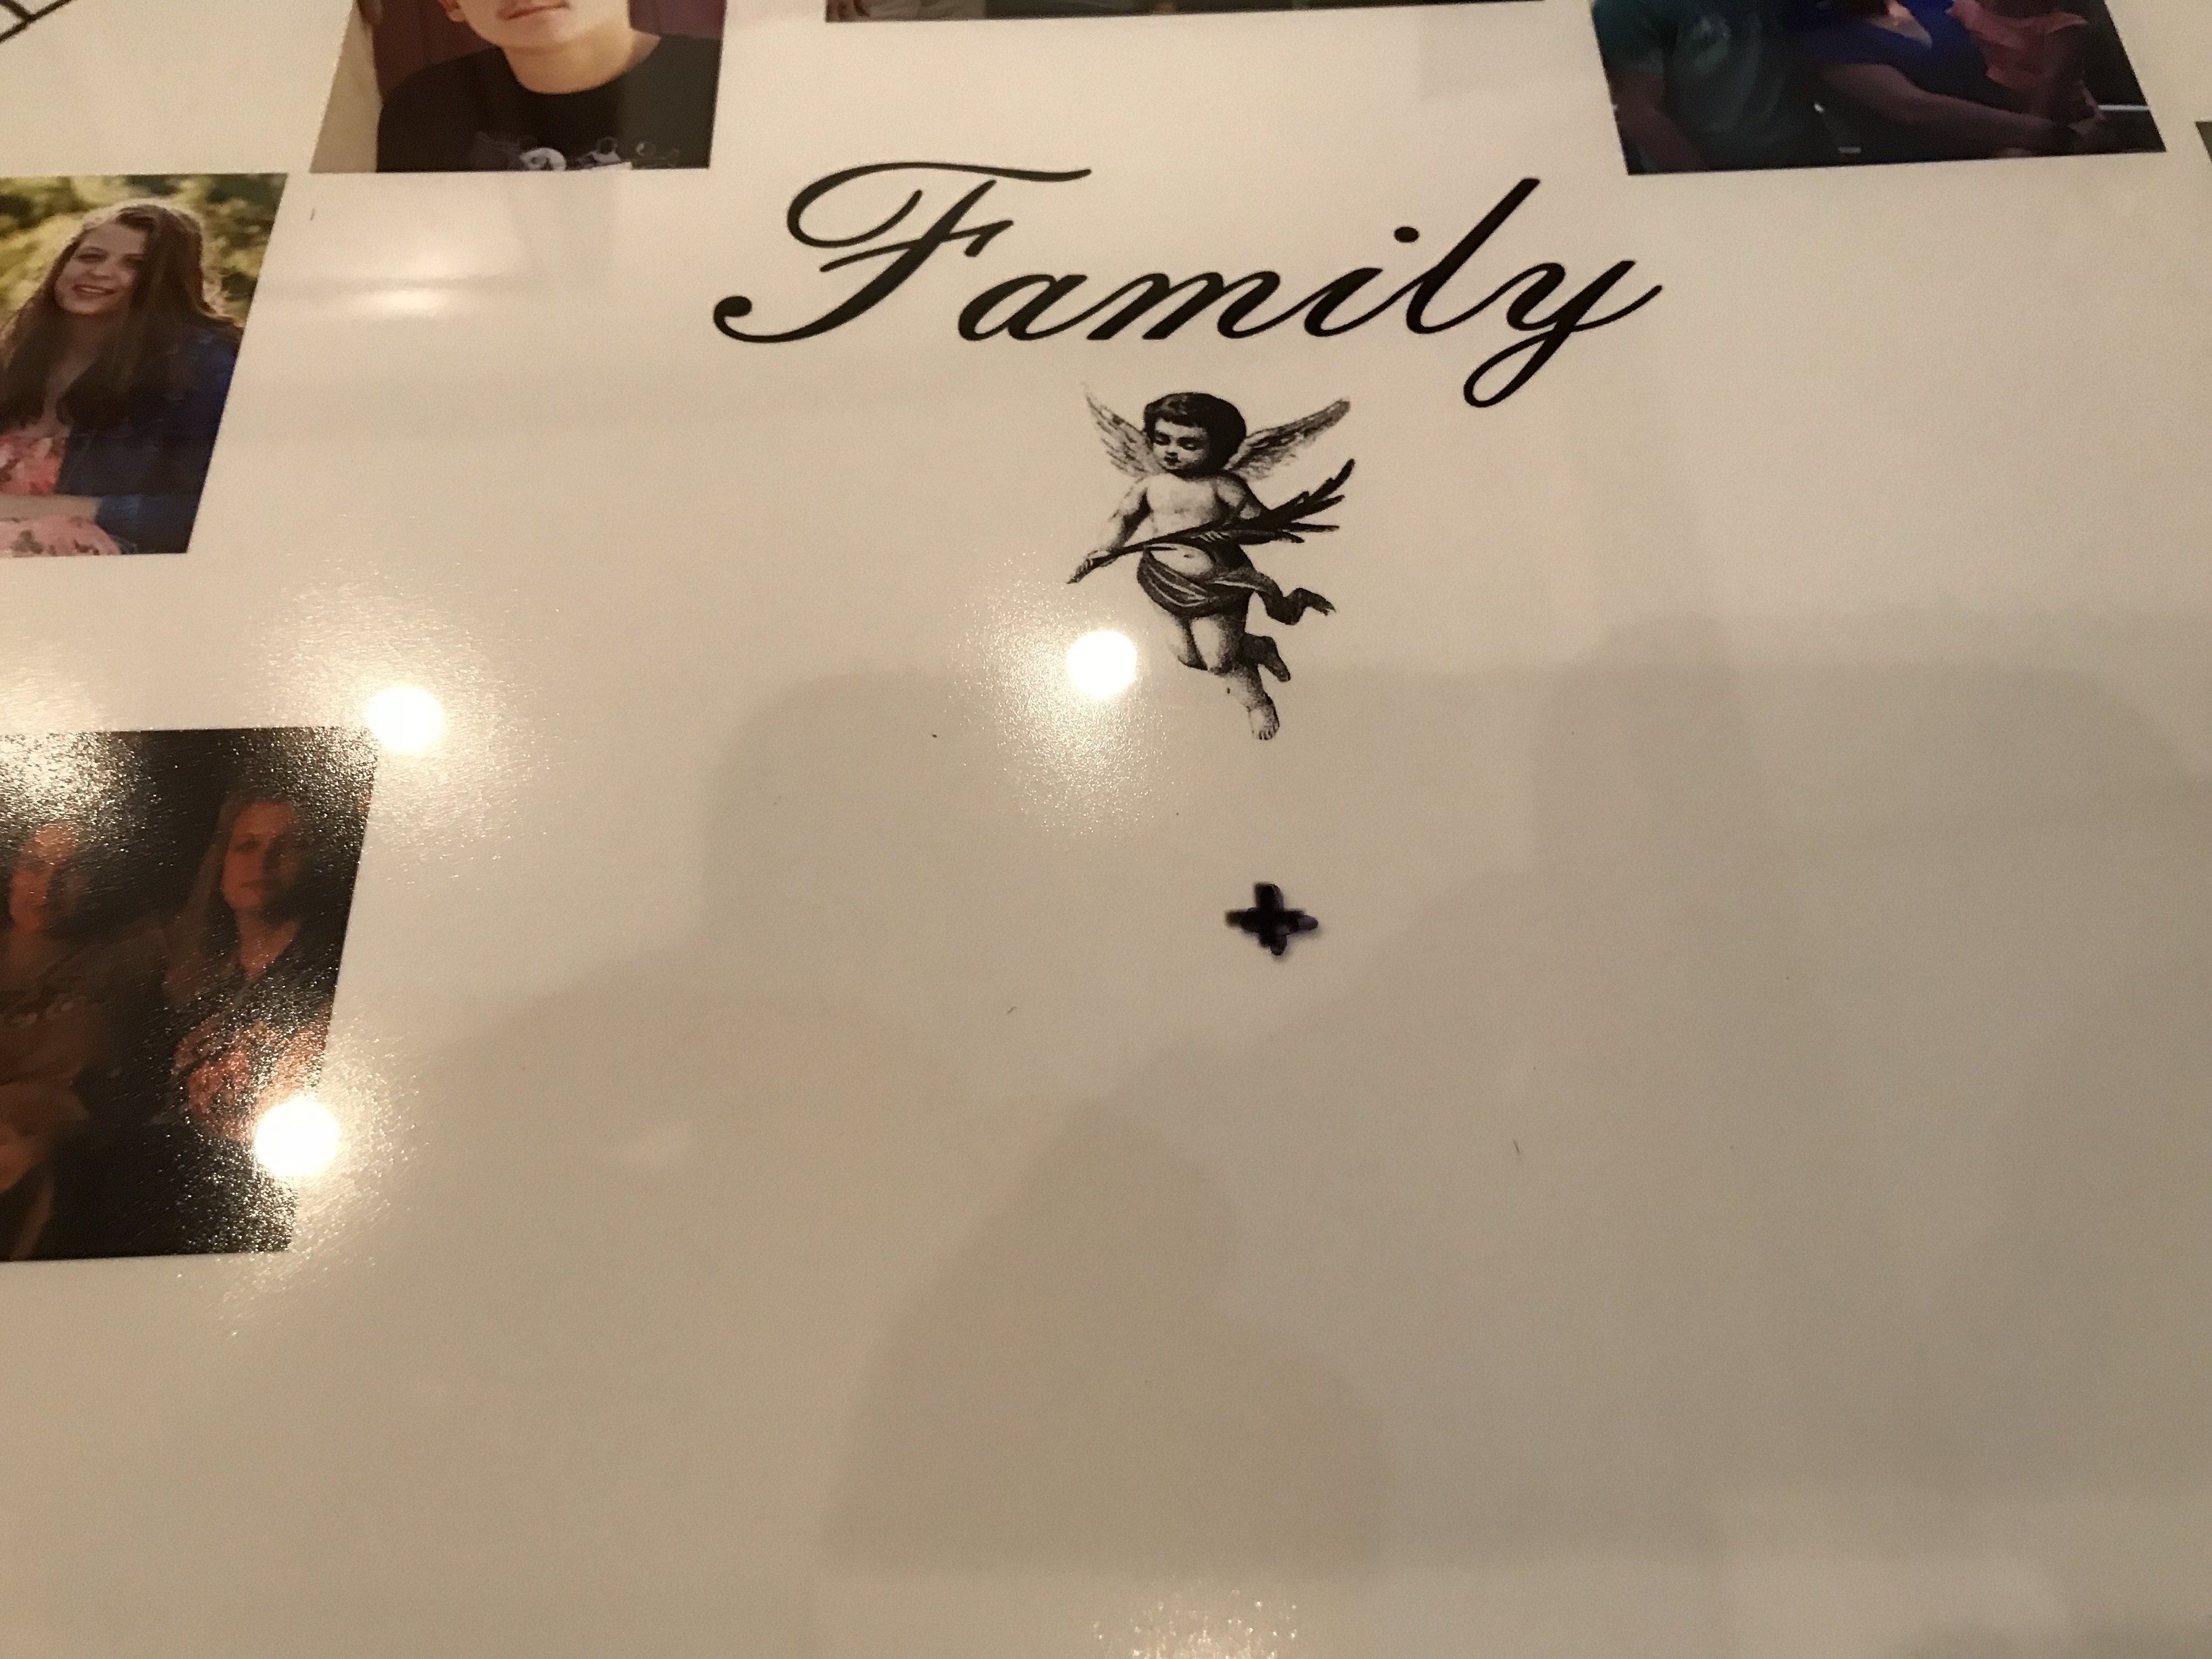
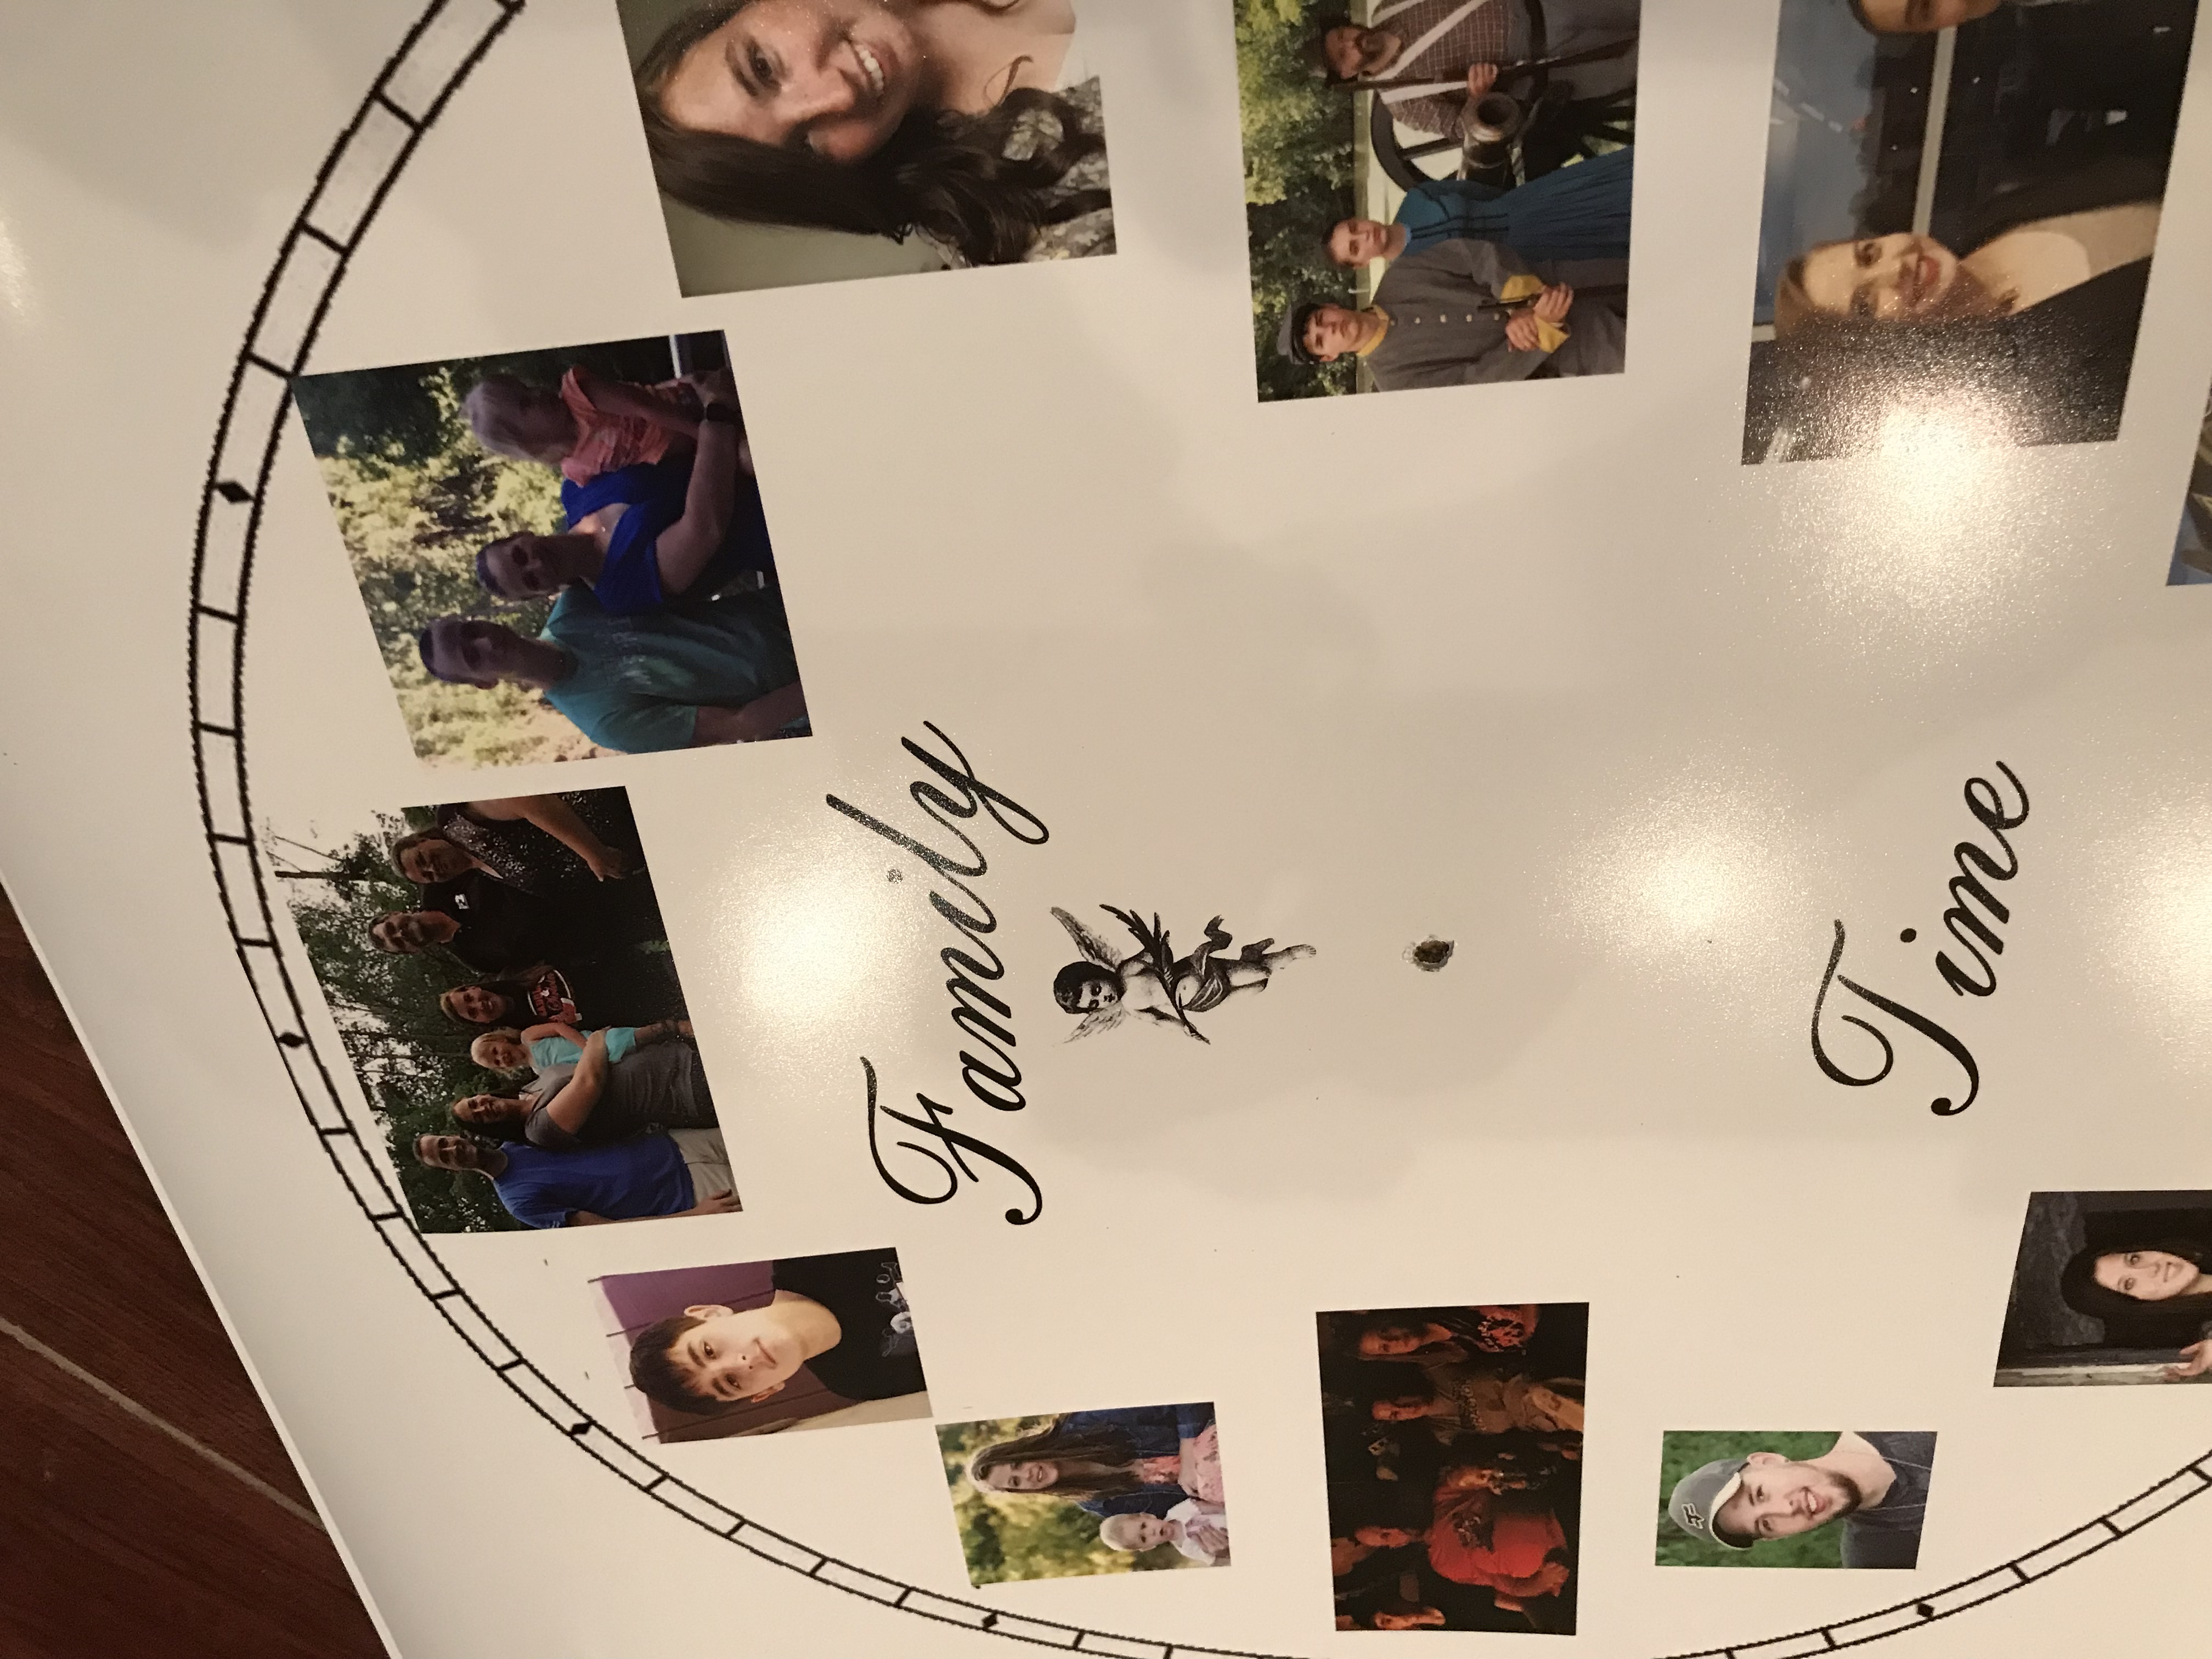
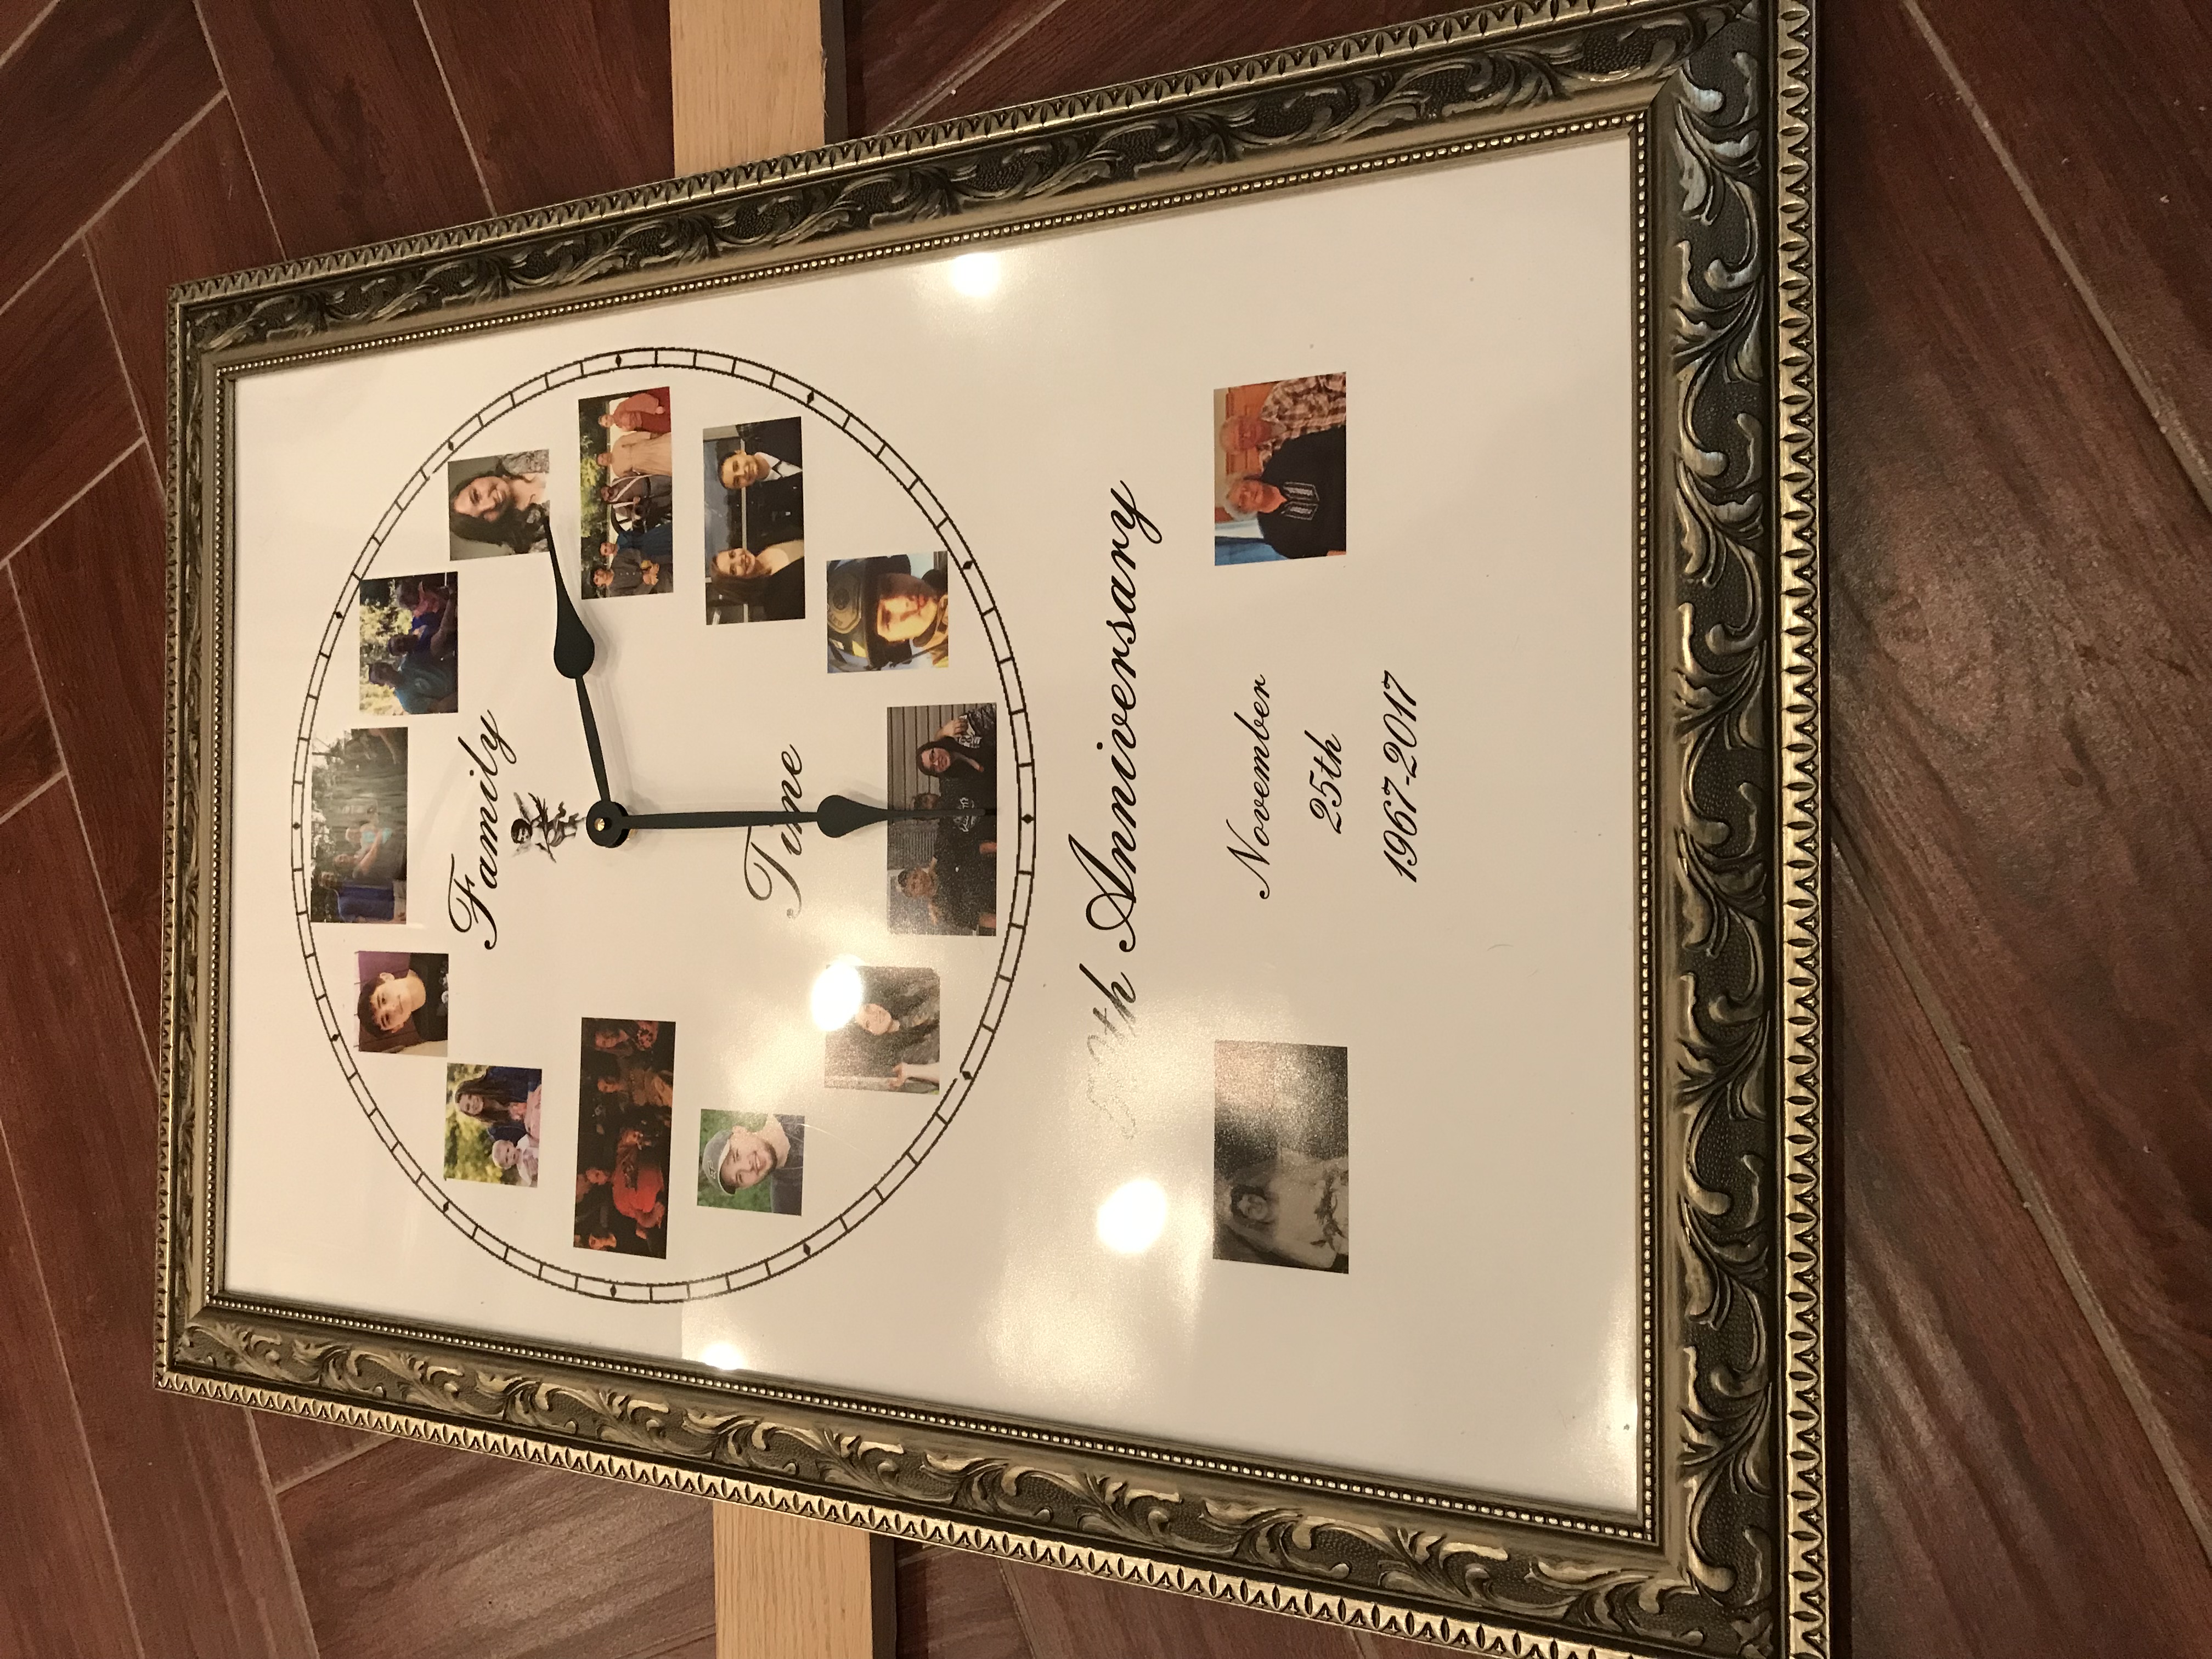
First lets talk about your background. Your background could be a family photo, a photo of your favorite pet, or a special scene. You can also create an image on your computer in Photoshop or other image editing software. You will need to get the image printed the size needed to fit the frame you choose. Printing can be done at any of your local print shops or the photo department at your local store. For the purpose of our example clock we had a 20 x 30 poster size image printed at our local Walmart. Our background we created using a combination of family photos put together in Photoshop for a 50th Anniversary.
Now that you have a background you need to find a frame for it. If your image is small enough (or your willing to pay enough for one to fit your printed background) you could place the clock hands inside the shadow box. But most people choice to use a less expensive frame. We chose to use a nice frame since our image was so large and the image needed to stand out. The important thing if your using a picture frame is that it either has a plexiglass / plastic face glass or you have the ability to drill the face glass. Drilling glass is a very fragile skill. By either having a plexiglass / plastic face you can usually drill it easily with a little patience. Also consider the orientation of your background when selecting a frame.
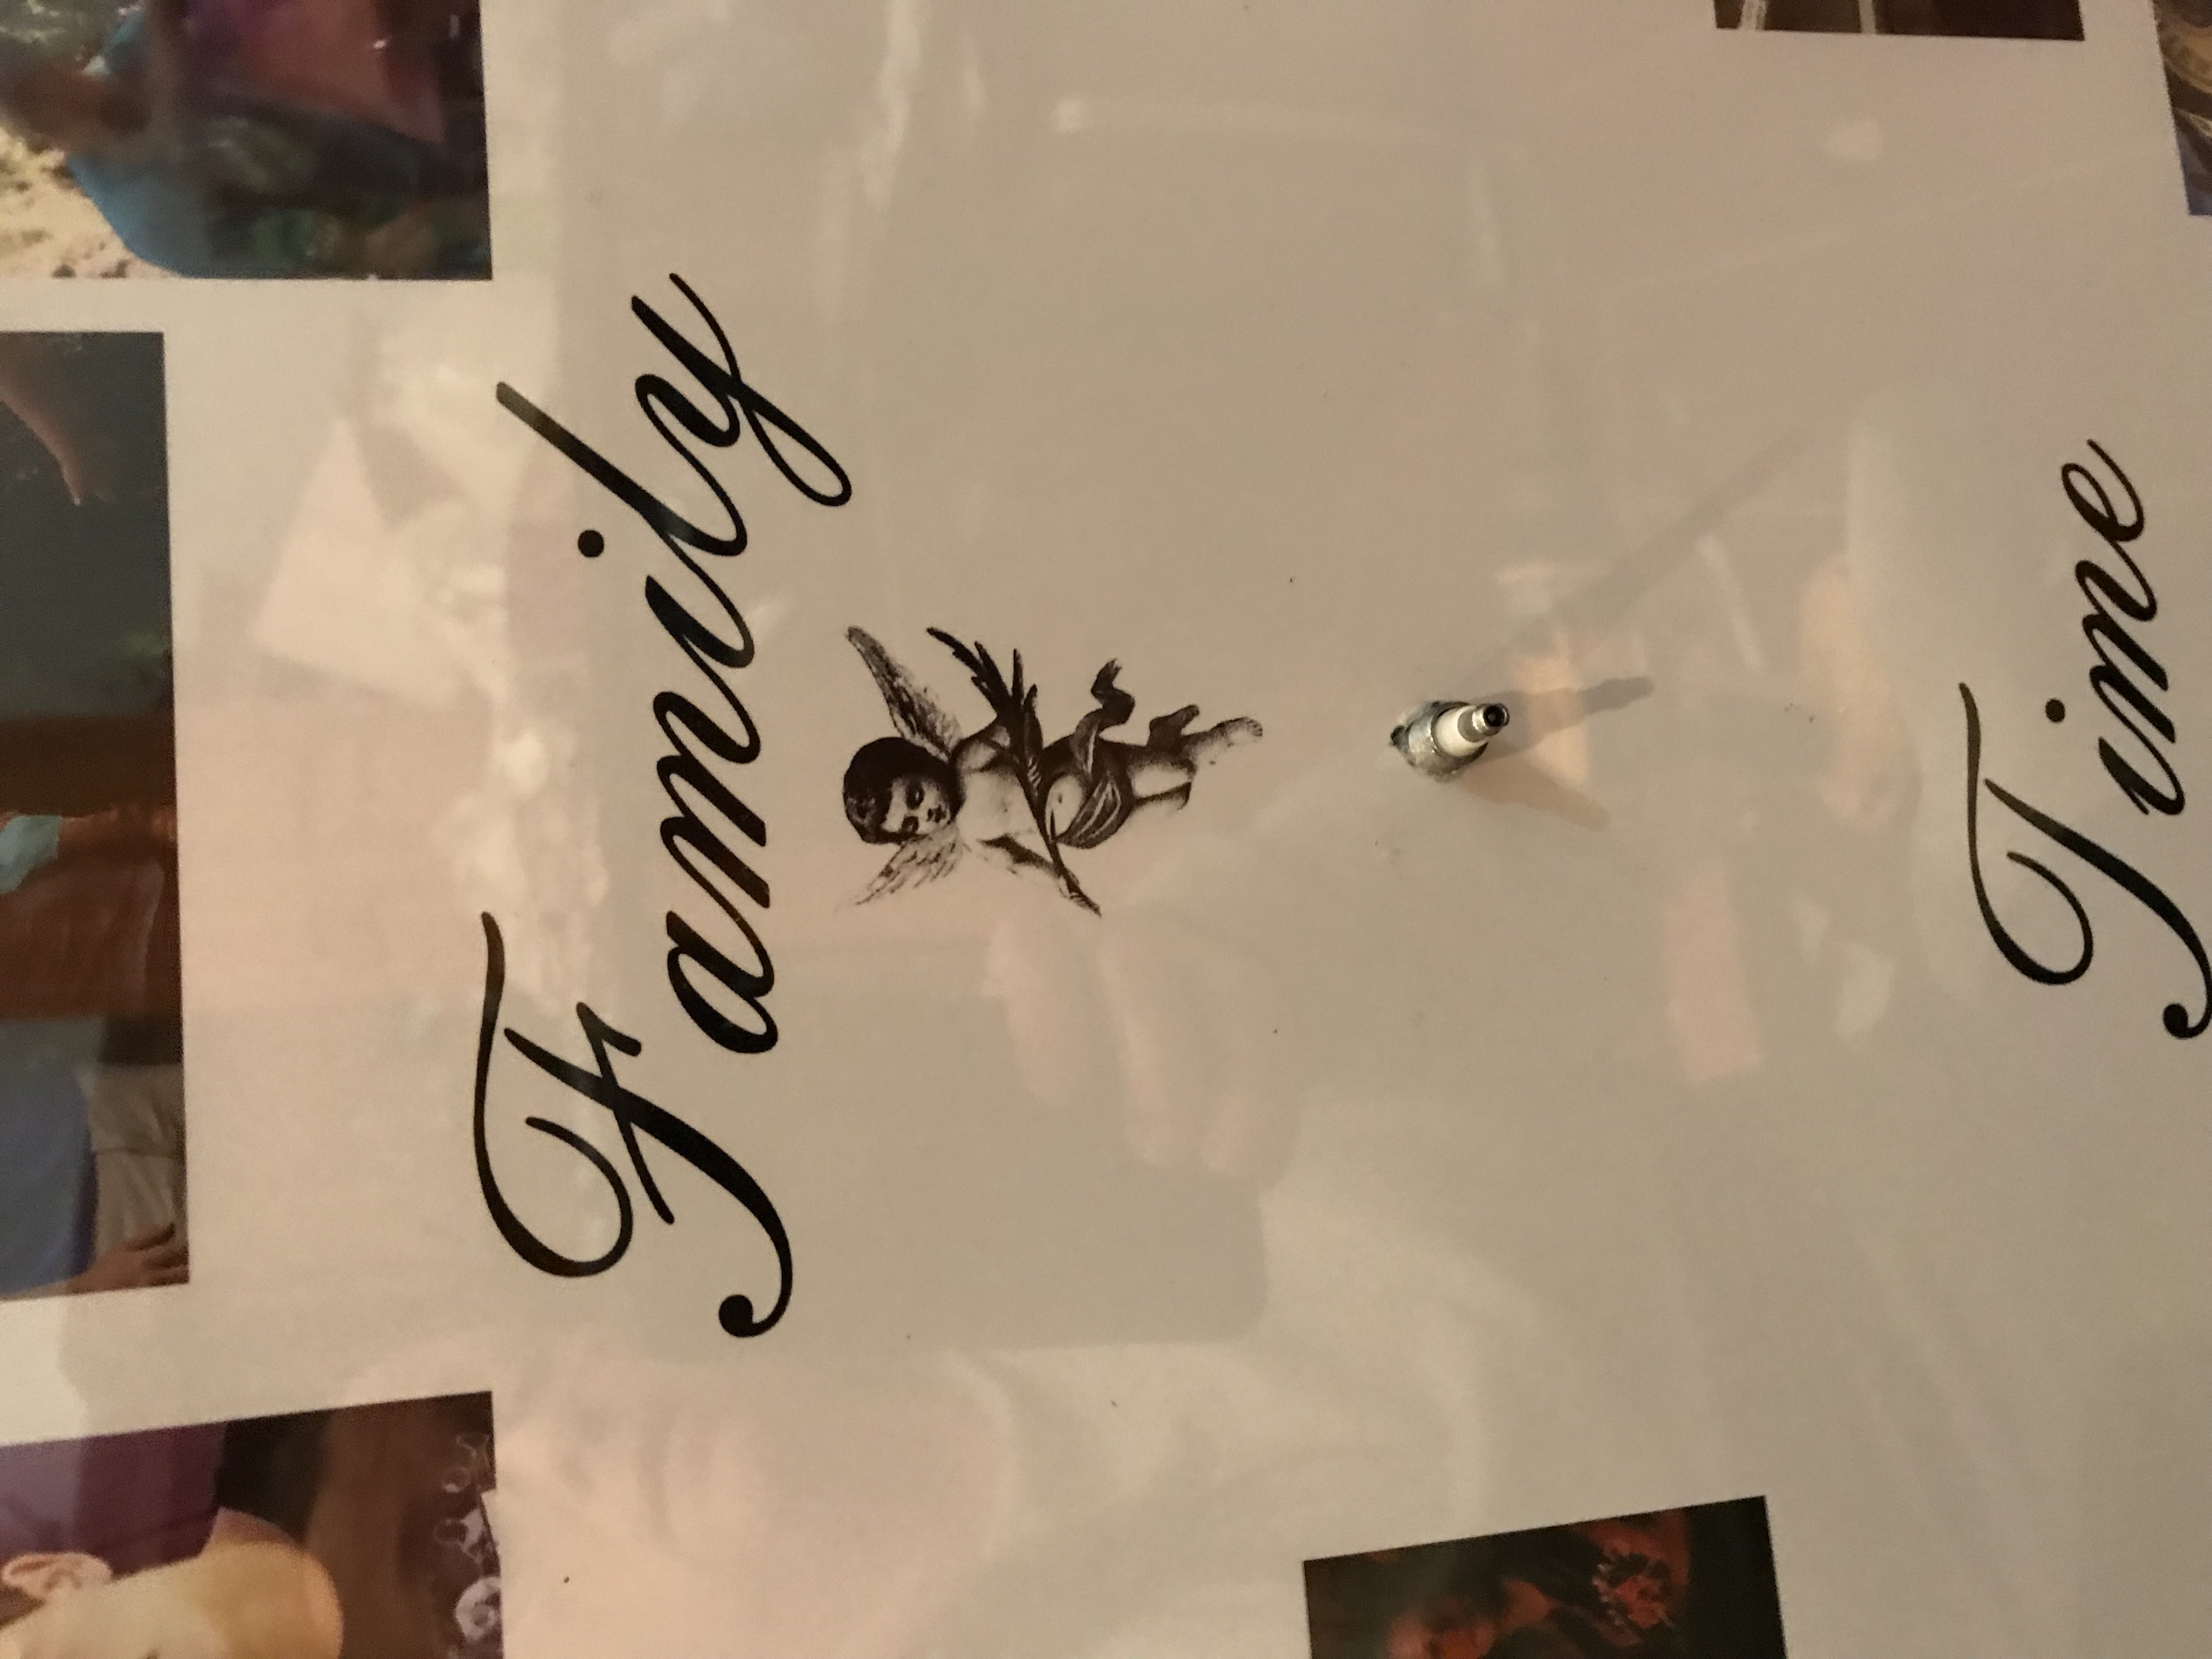
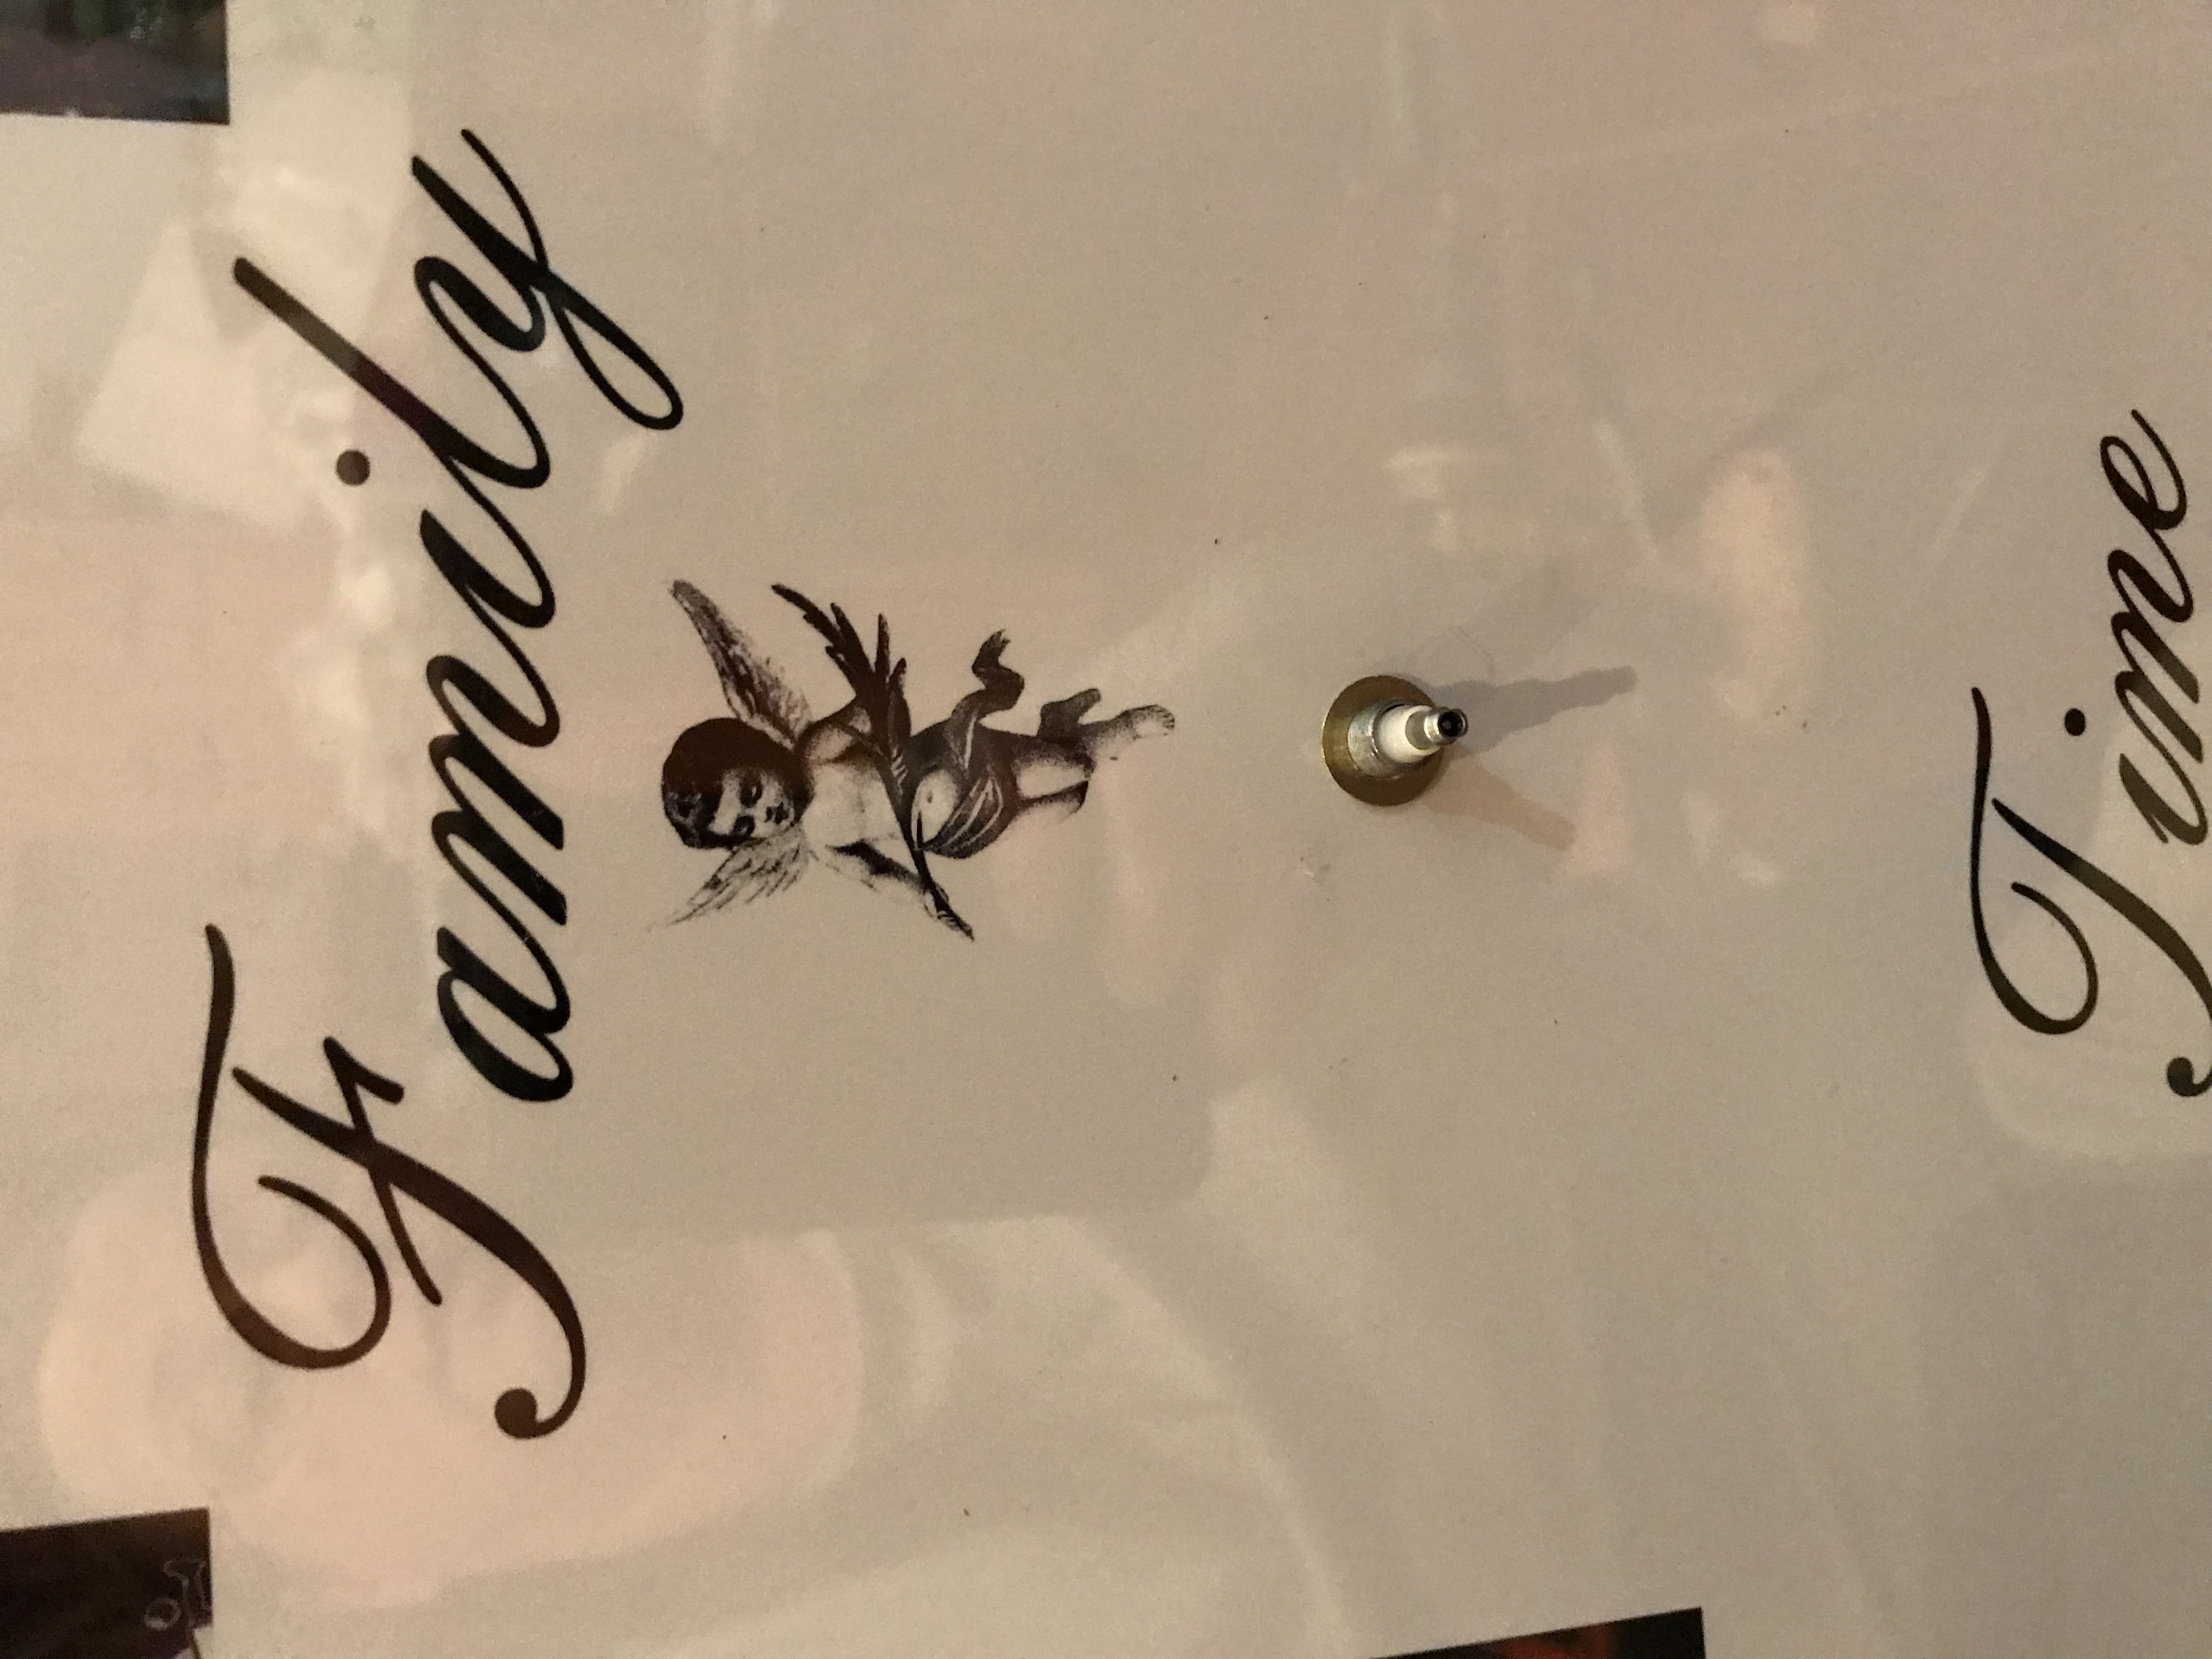
Now start assembling the clock. Insert your background into the frame temporarily so you can mark the outside of the face glass. Now using a black marker, you need to make a mark where the center stem of your clock movement will come through the face glass. Remember that your clock doesn't need to be located in the center of the frame. Some images would look better if the clock movement is up in a corner or other location. Our example clock has the center of our clock face at approximately a 1/3 of the way down the frame.
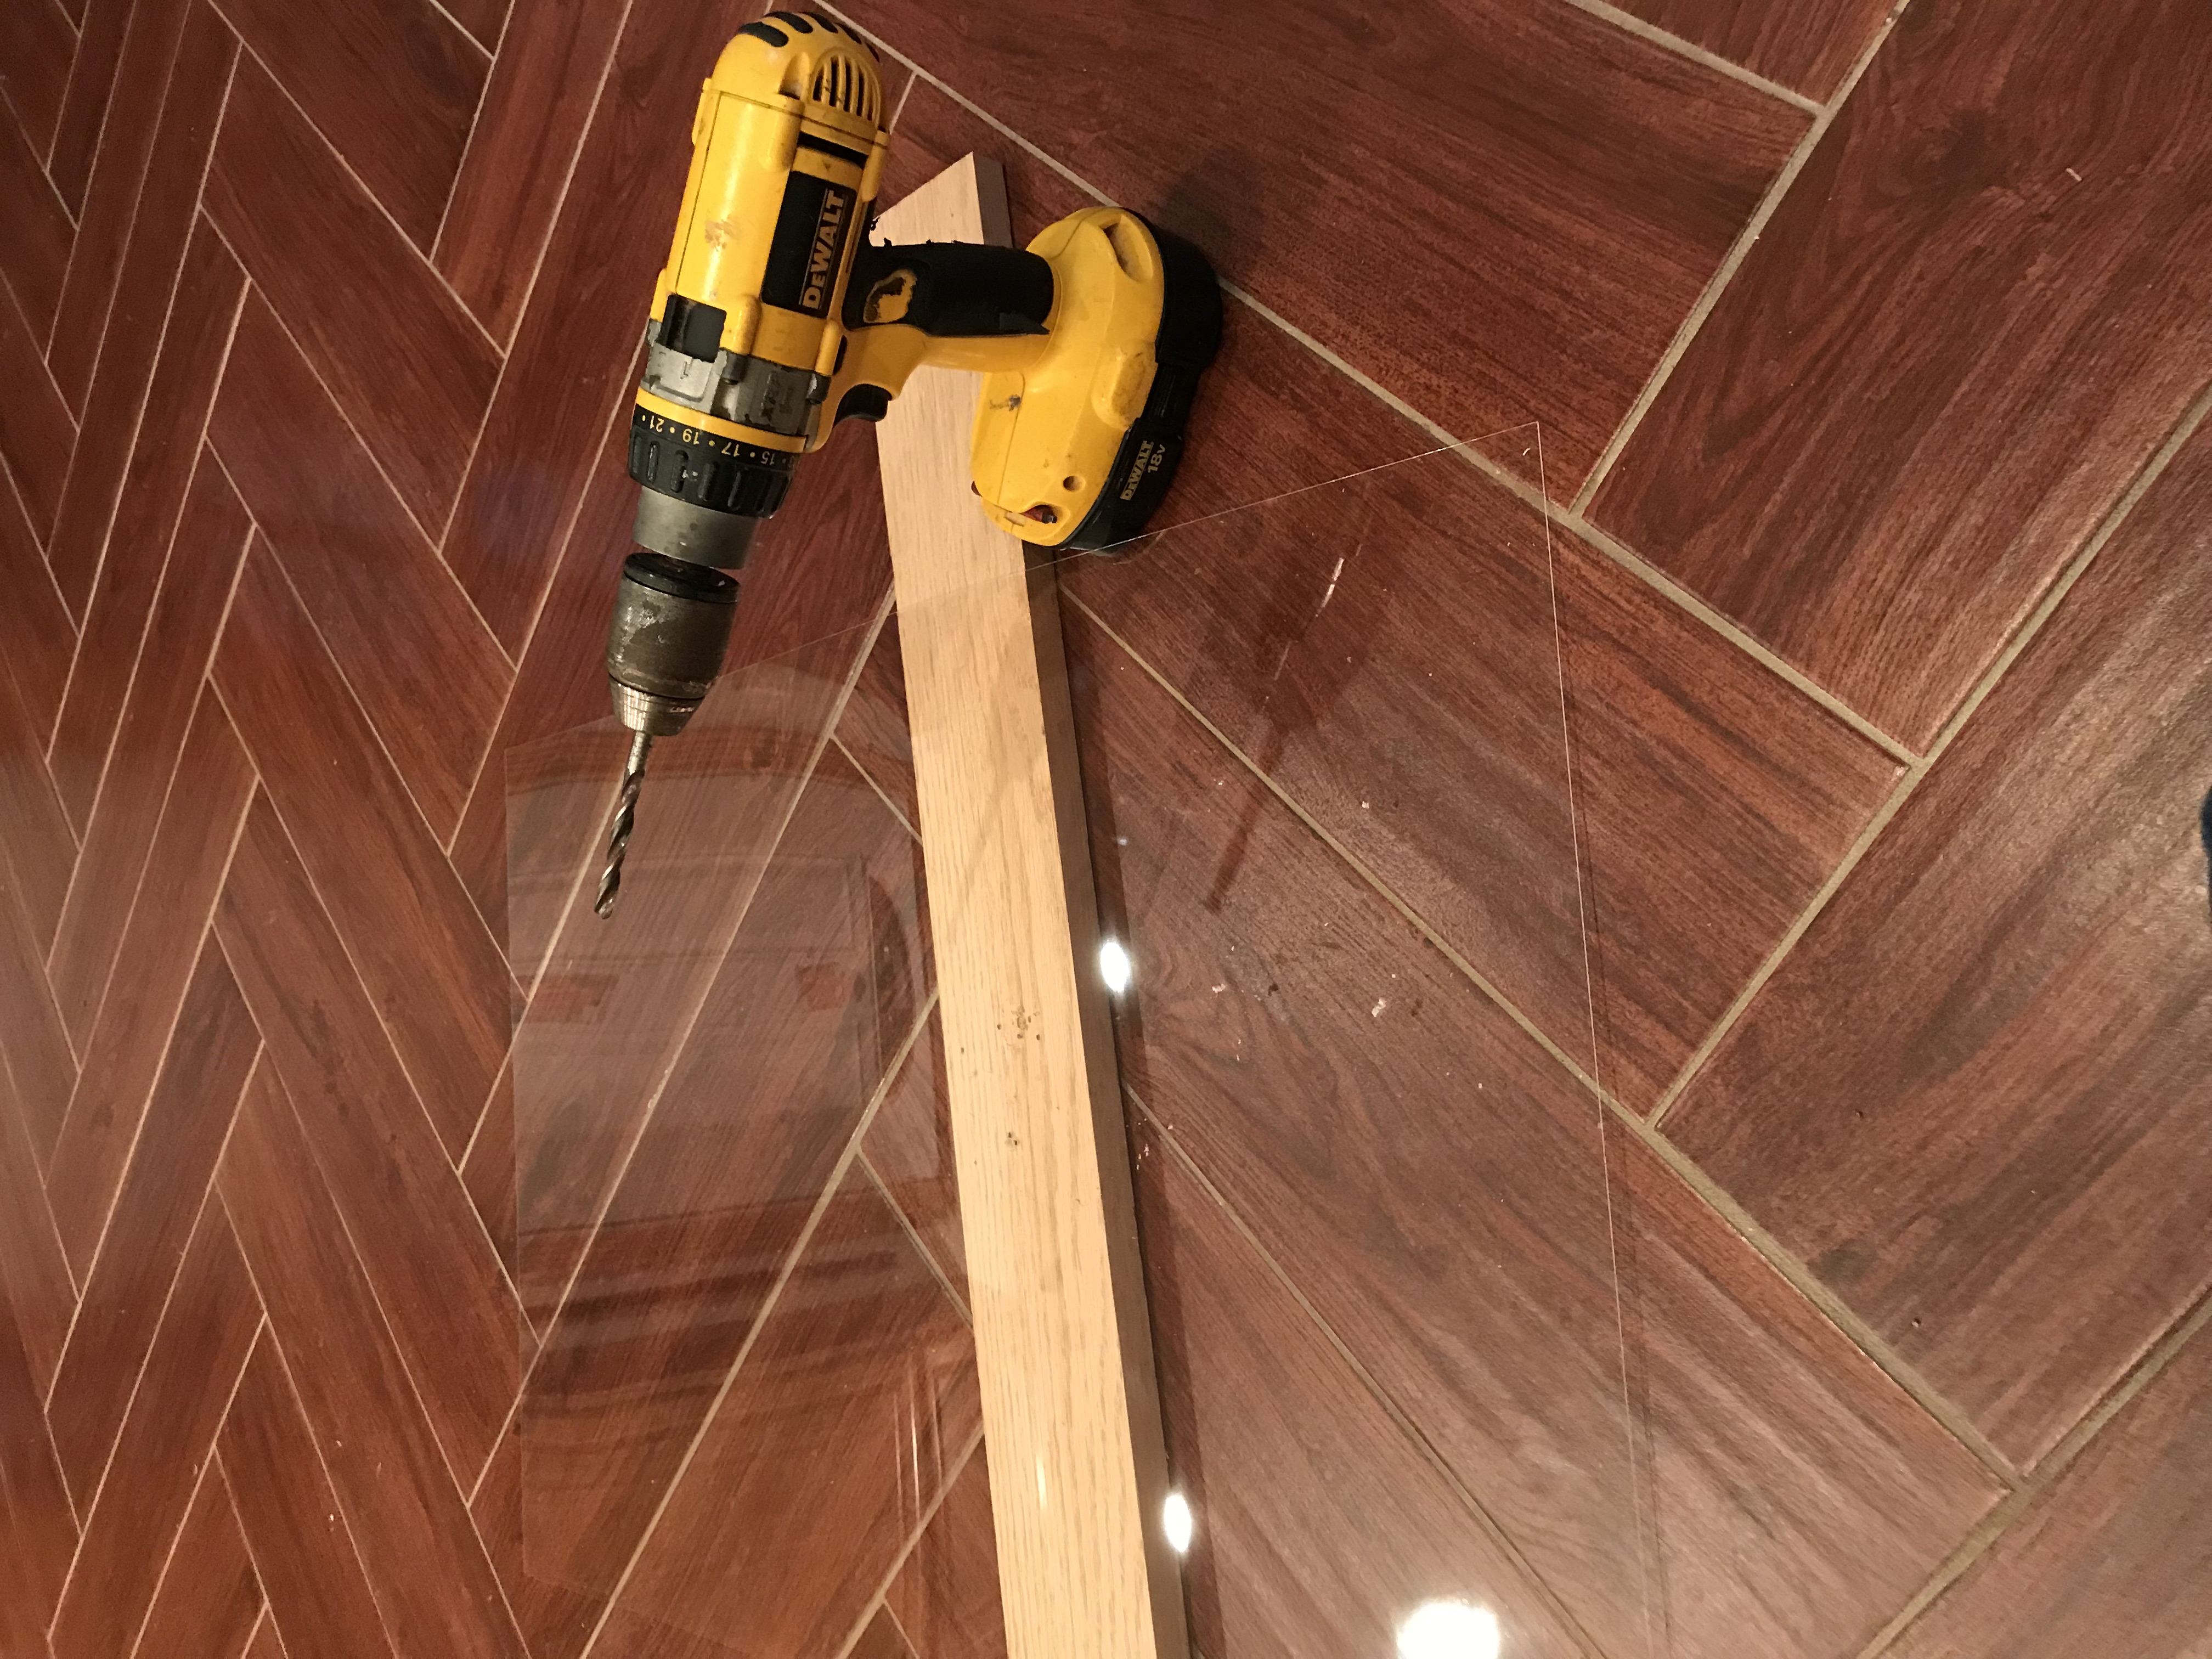
After marking the face glass, remove your background from the frame. Now you will need to drill the hole in the face glass. You will need to drill a hole that is approximately 3/8". This is a 1/16 larger than the movement stem in order to allow the stem to move freely. We strongly suggest drilling a small 1/8" pilot hole before drilling the hole. This will help prevent cracking the plexi-glass. Some customers suggest drilling a series of increasing sized holes. You will also want to insure you have something under the plexi-glass that can be damaged when the drill comes through the plexi-glass. We are showing this done on the floor with a piece of scrap wood under the plexi-glass to help give us better lighting for the photos. But a better arrangement would be to fasten the plexi-glass down to a work bench in the garage or workshop.
Before replacing the plexi-glass you will need to clean it to remove the dust and plastic chips. Now replace the face glass and background. You will need to use a pen or pencil and trace the hole in the plex-glass onto the background. This circle will need to be carefully removed from your background and the frame backboard with an xacto knife or other sharp knife. After removing this area you can replace the background into the frame.
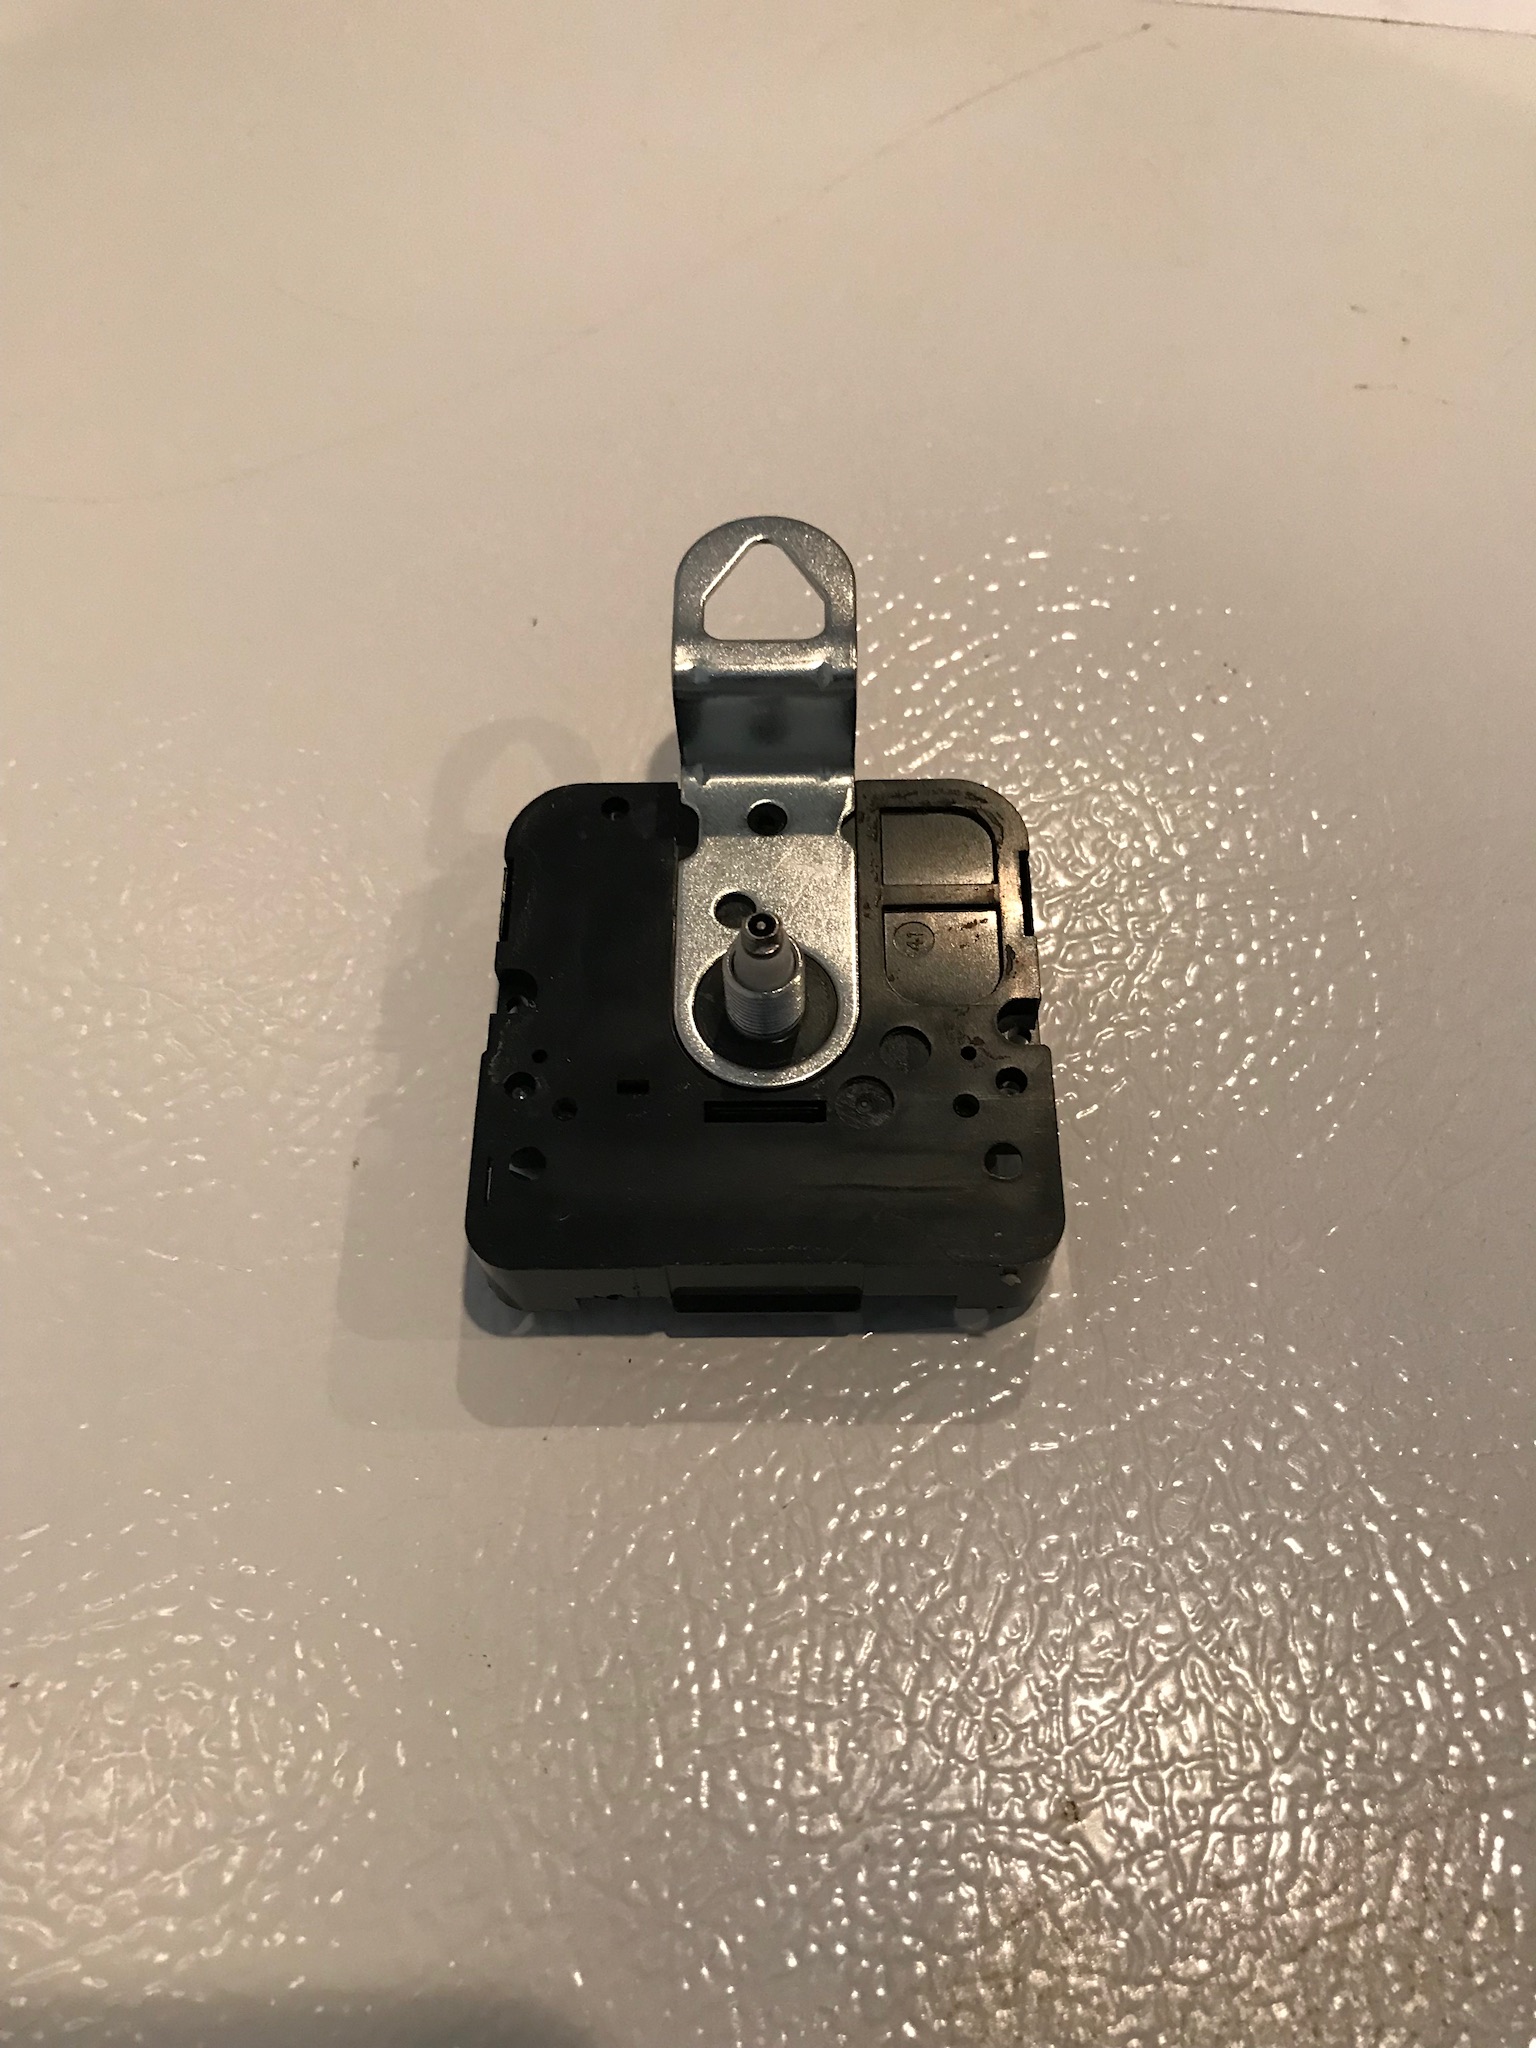
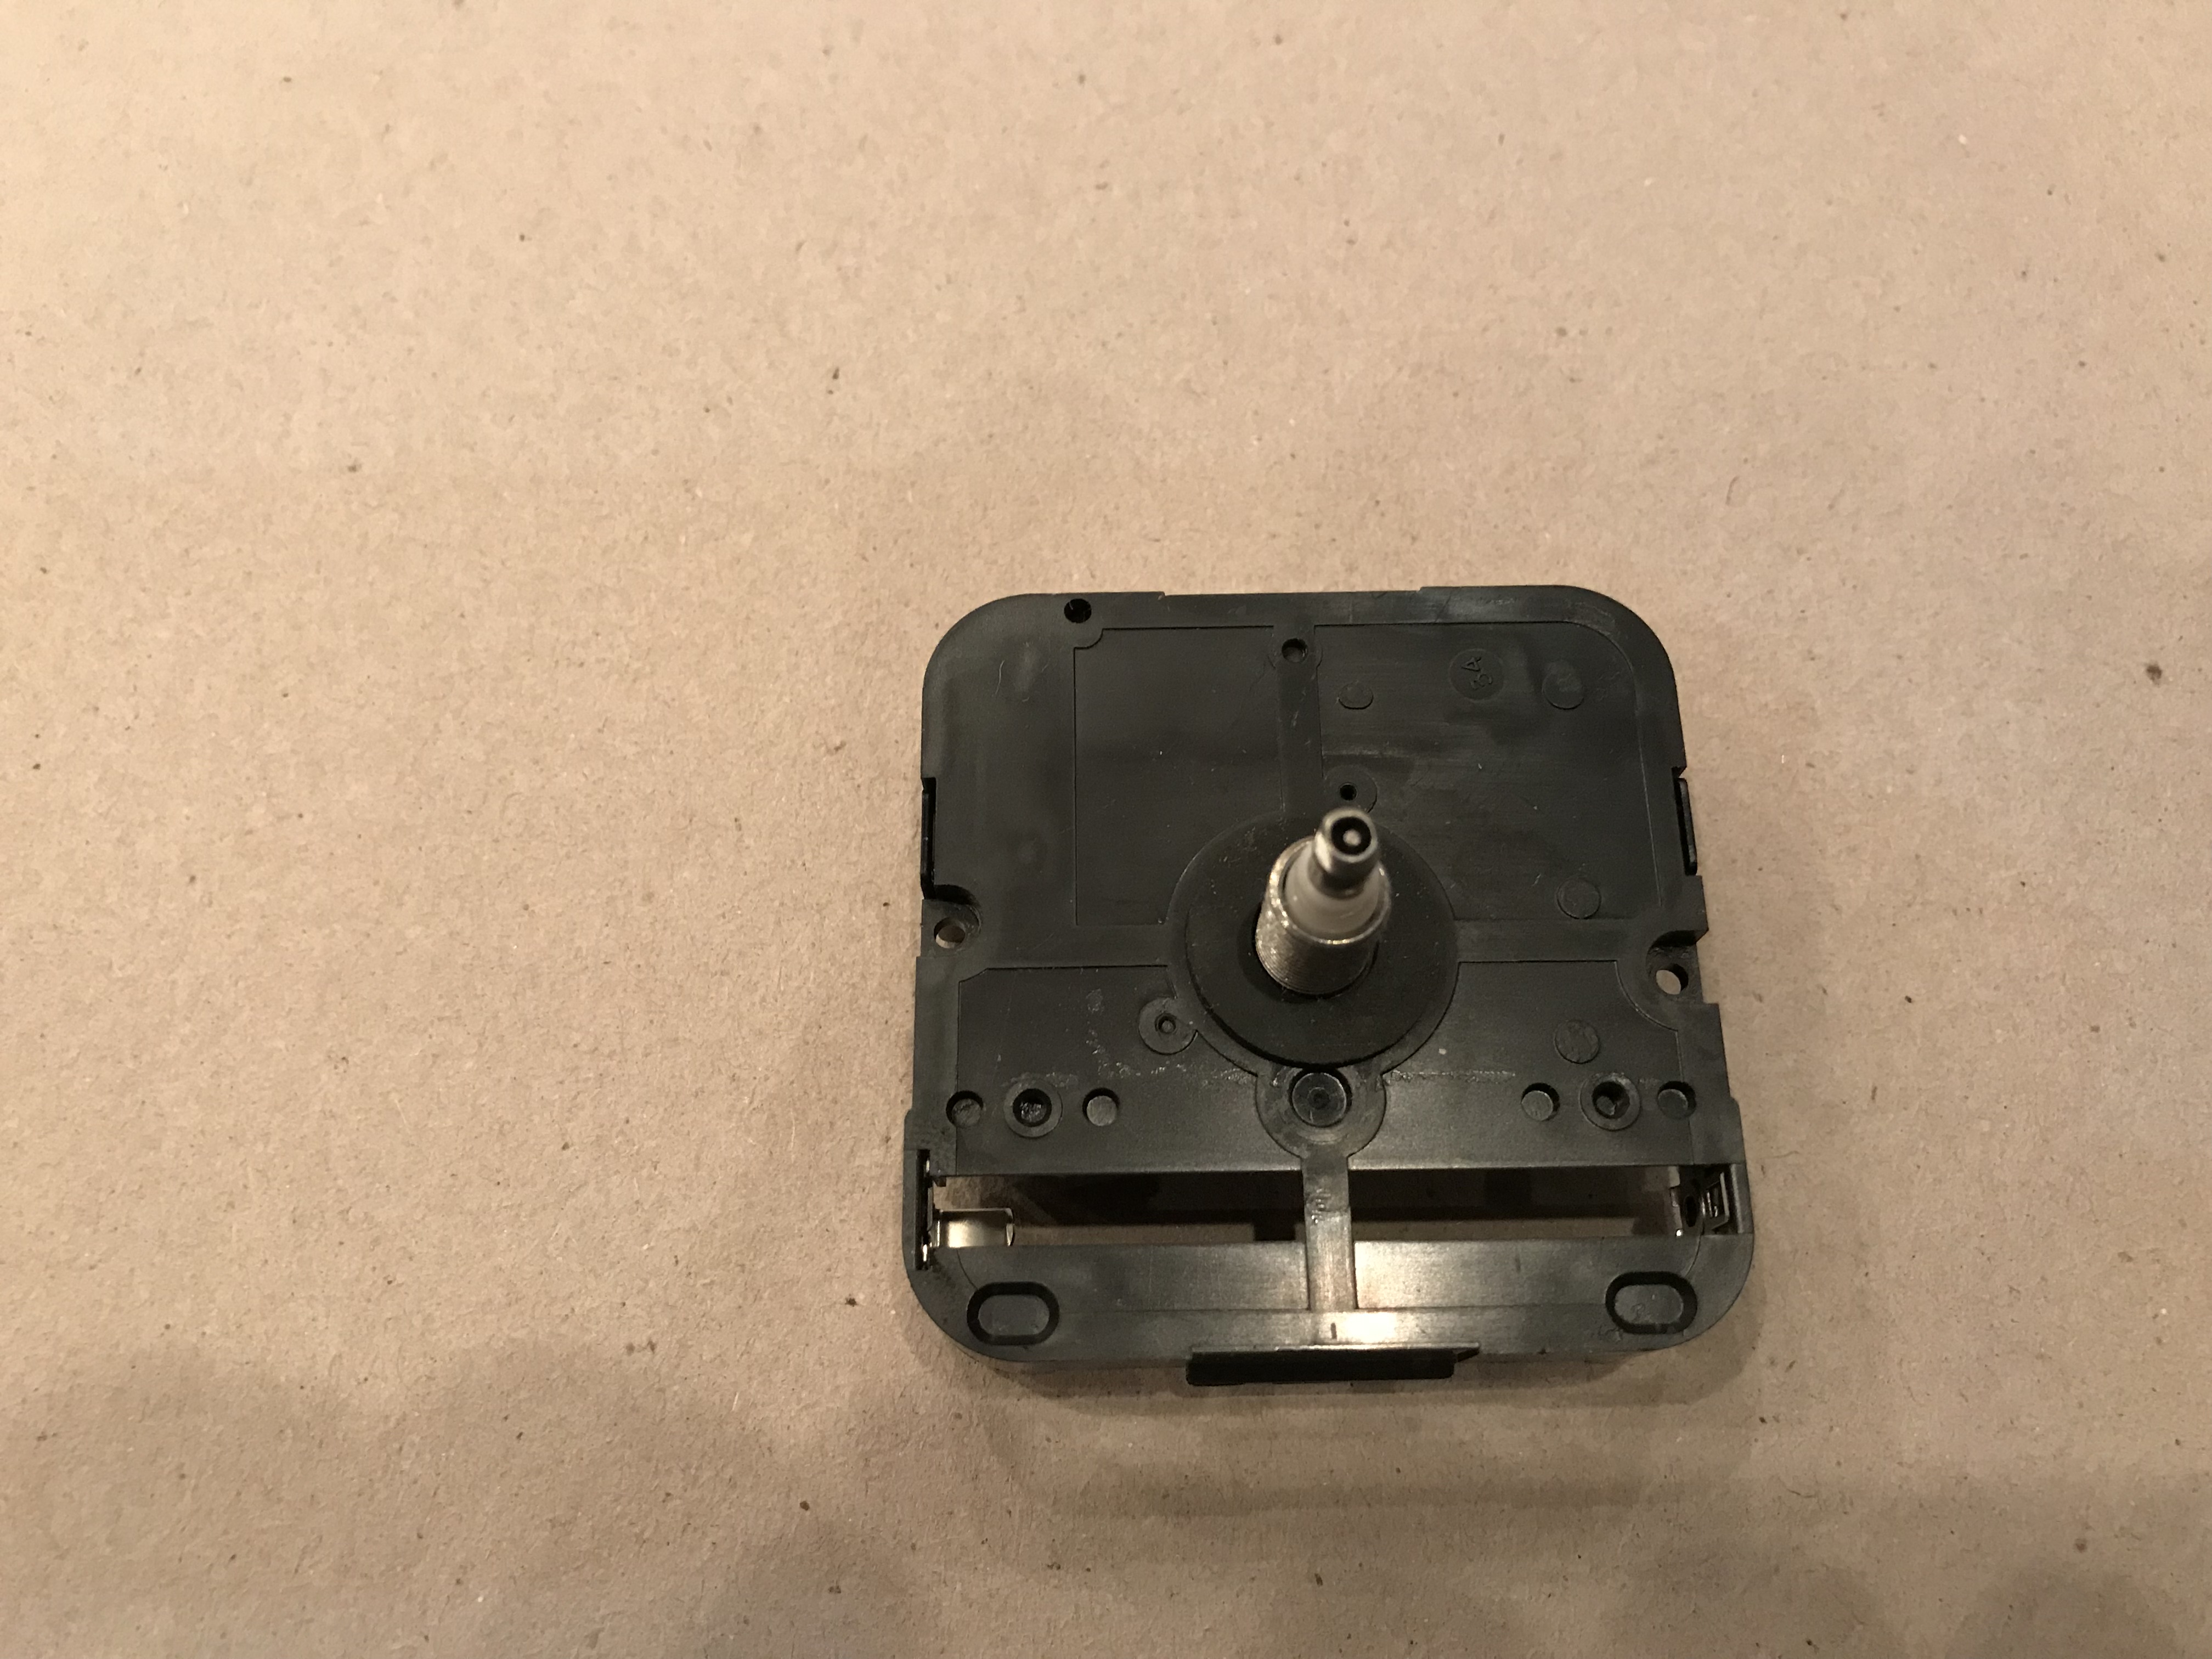
Now to assemble the movement. We continue with these instruction using the needed instructions for our I-shaft movement. If you are not using our I-shaft movement your assembly may vary slightly. Now you need to decide if you need to hang your clock by the hanger on the movement or by the hangers on the frame. If your using the hangers on the frame please skip to the next step. If your using your the hanger from the movement we will need to proceed with this step. Check to see if the movement has a small triangular hole in the back, if so skip to the next step. If it does not you will need to place the metal hanger on the front of the movement.
Our example clock does not need the metal hanger so our pictures will not show it on the movement. Place the black rubber washer over the movement stem.
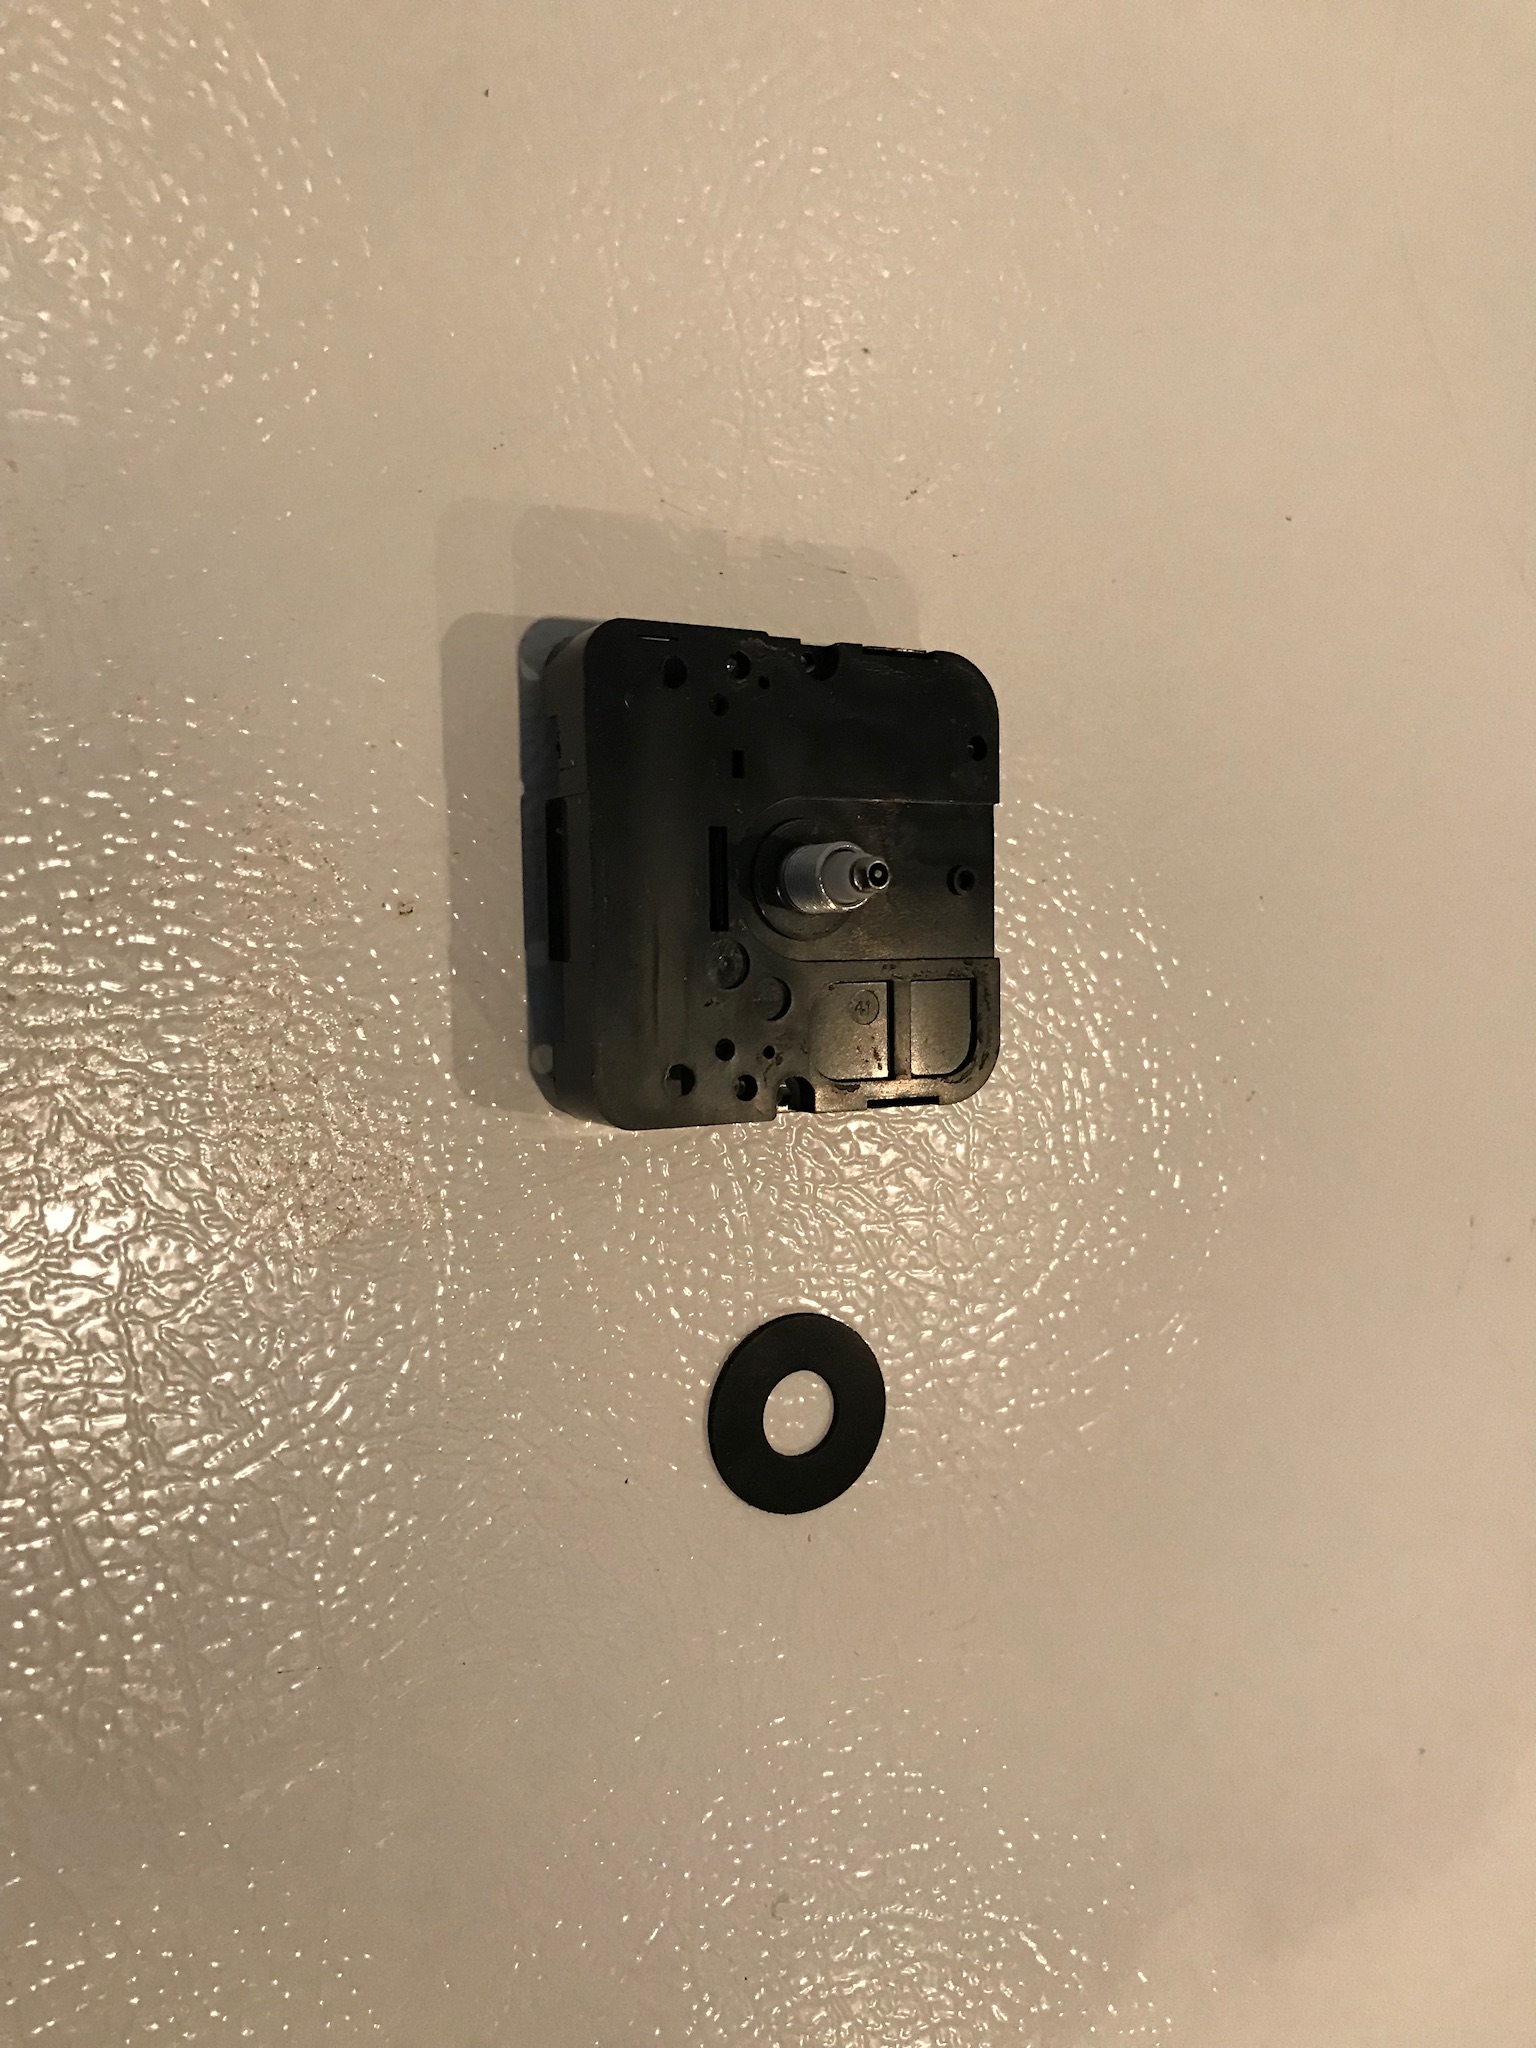
Place the movement stem through the hole in your frame backboard, the background, and the plexi-glass.
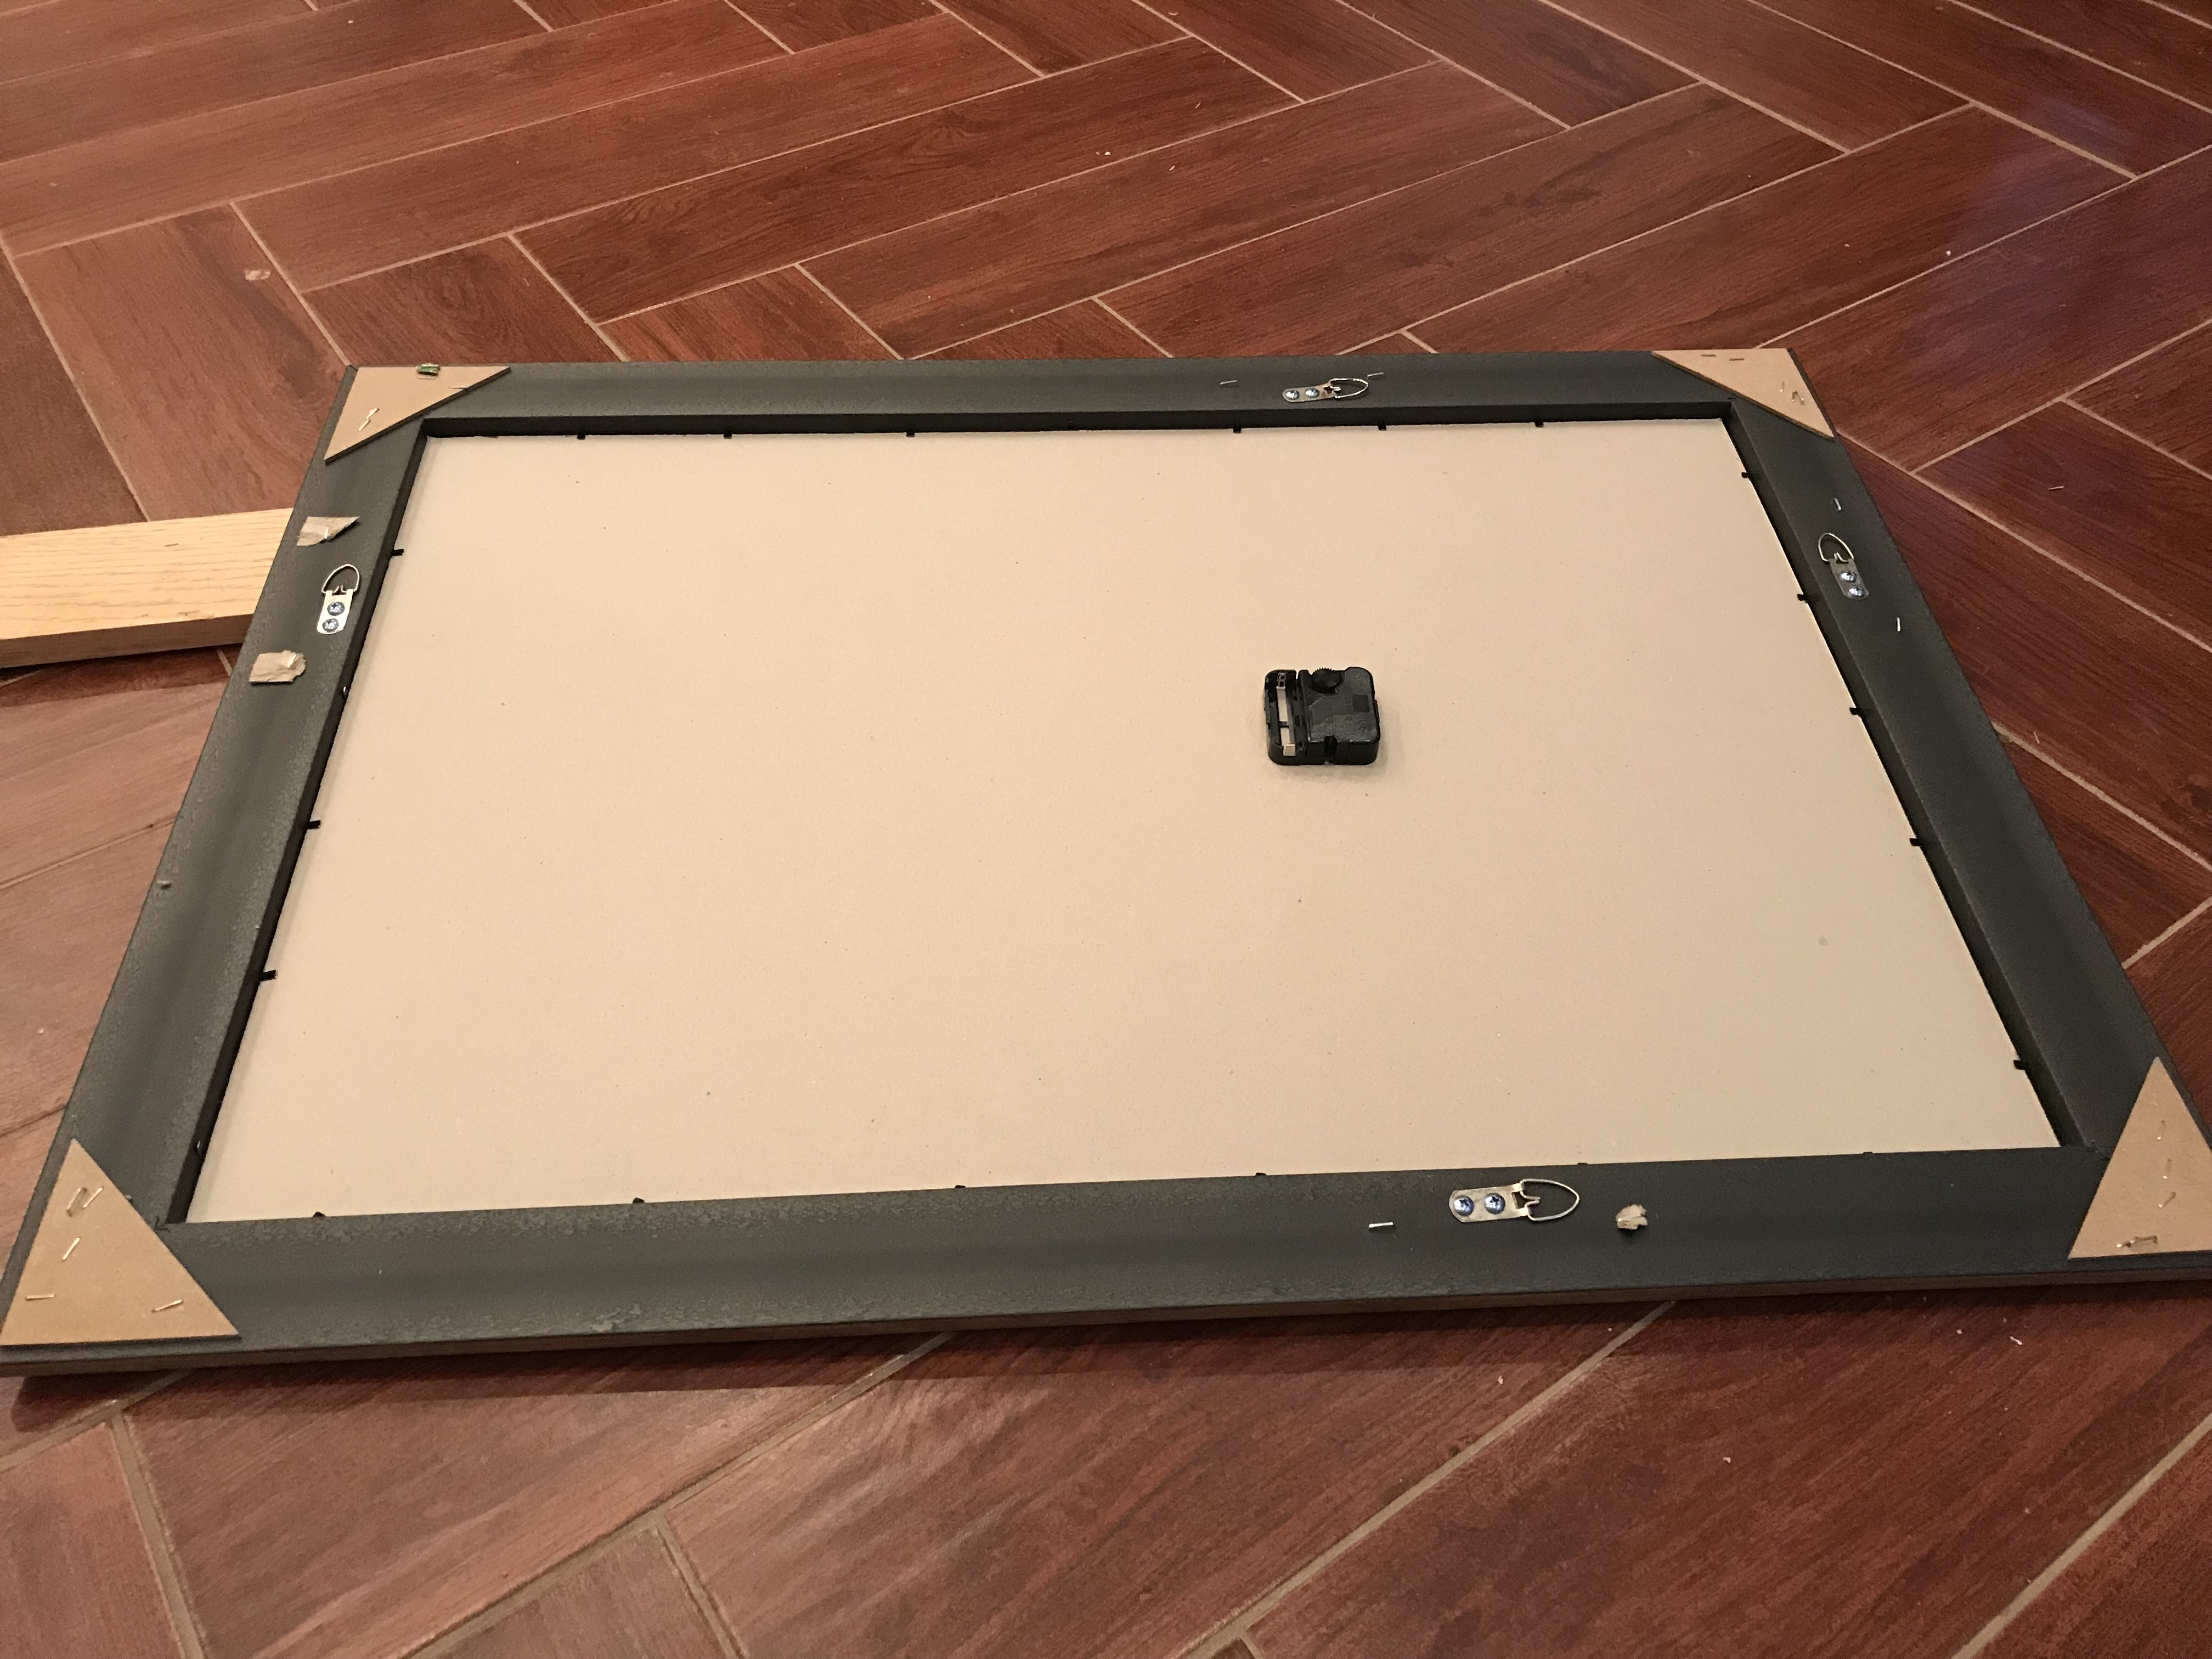
Carefully turn clock over.
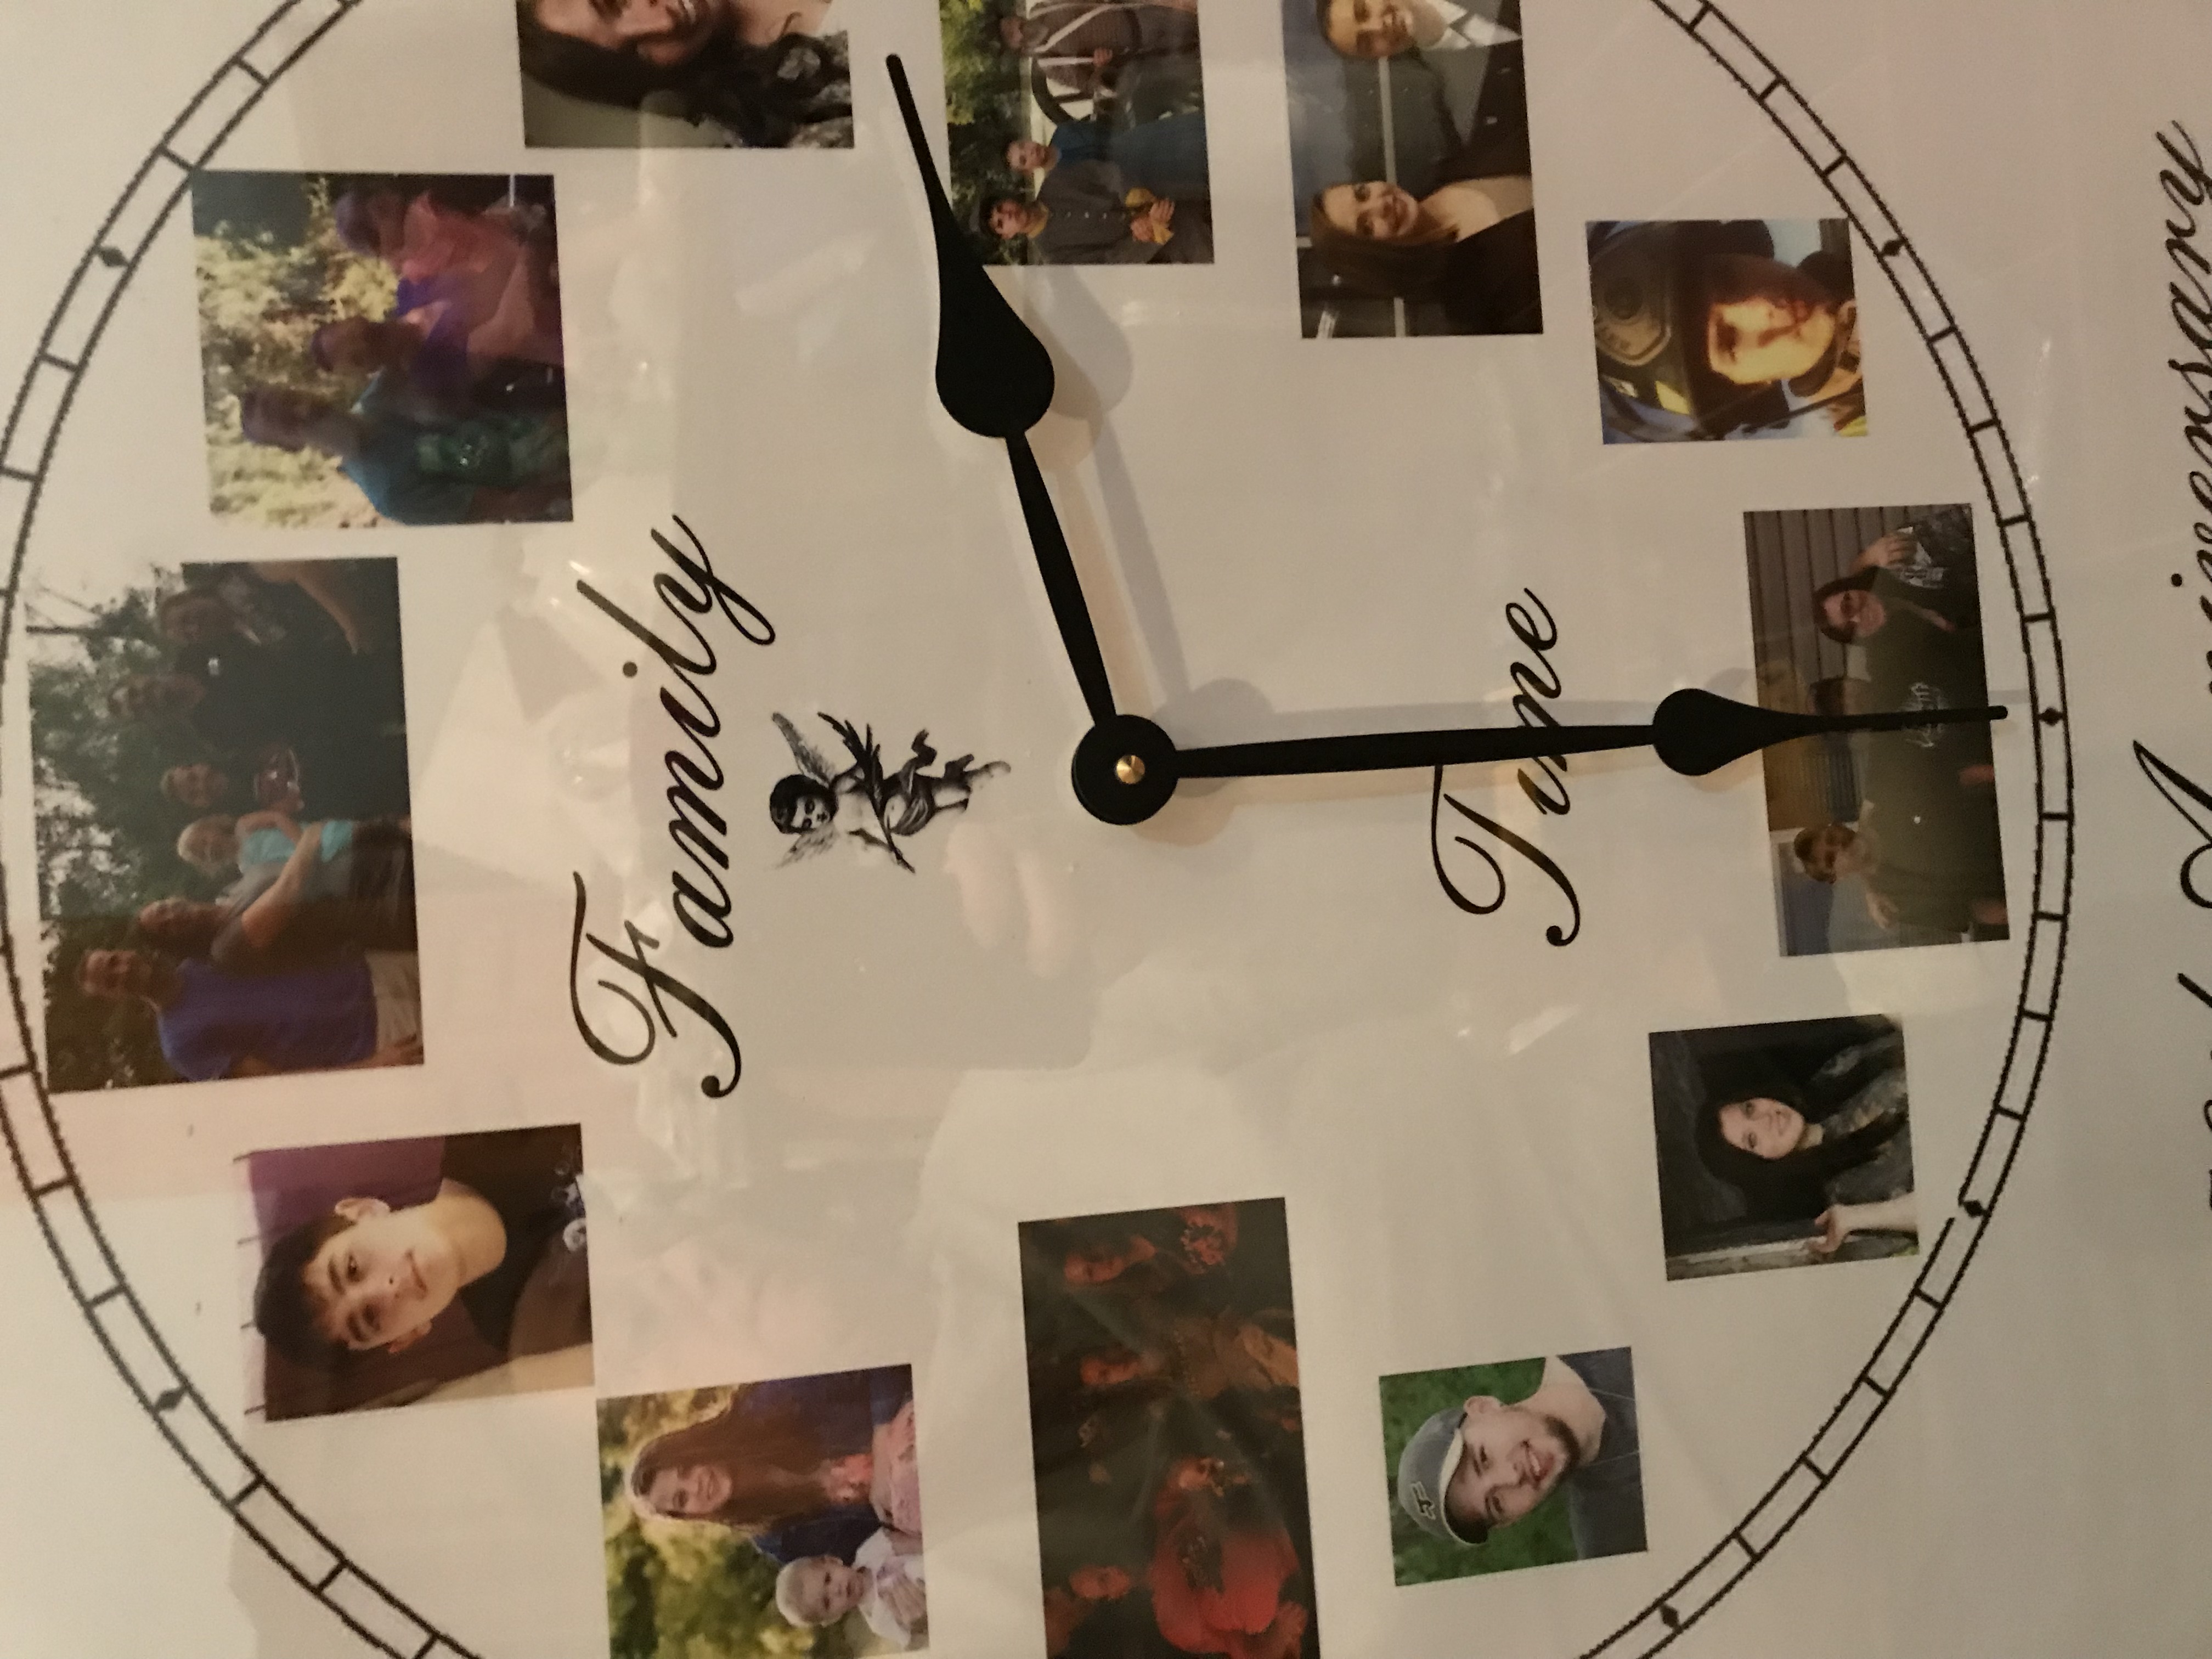
Now if you didn't print the clock face into your background you may want to use a starburst or plastic numbers to make the face of your clock. A plastic starburst is a self adhesive clock face that you would put on the clock movement stem at this time. Starbursts come in full or partial meaning that it can contain all the numbers or it can have just the 12, 3, 6, and 9 with small lines indicating where the other numbers would be located. These are nice since you don't have to try to get the numbers positioned in the correct spots. Or you may want to use adhesive numbers, vinyl numbers or other markers for the numbers. We decided to print a picture of one of the kids or grandkids for the numbers in our example clock since it was for their 50th anniversary.
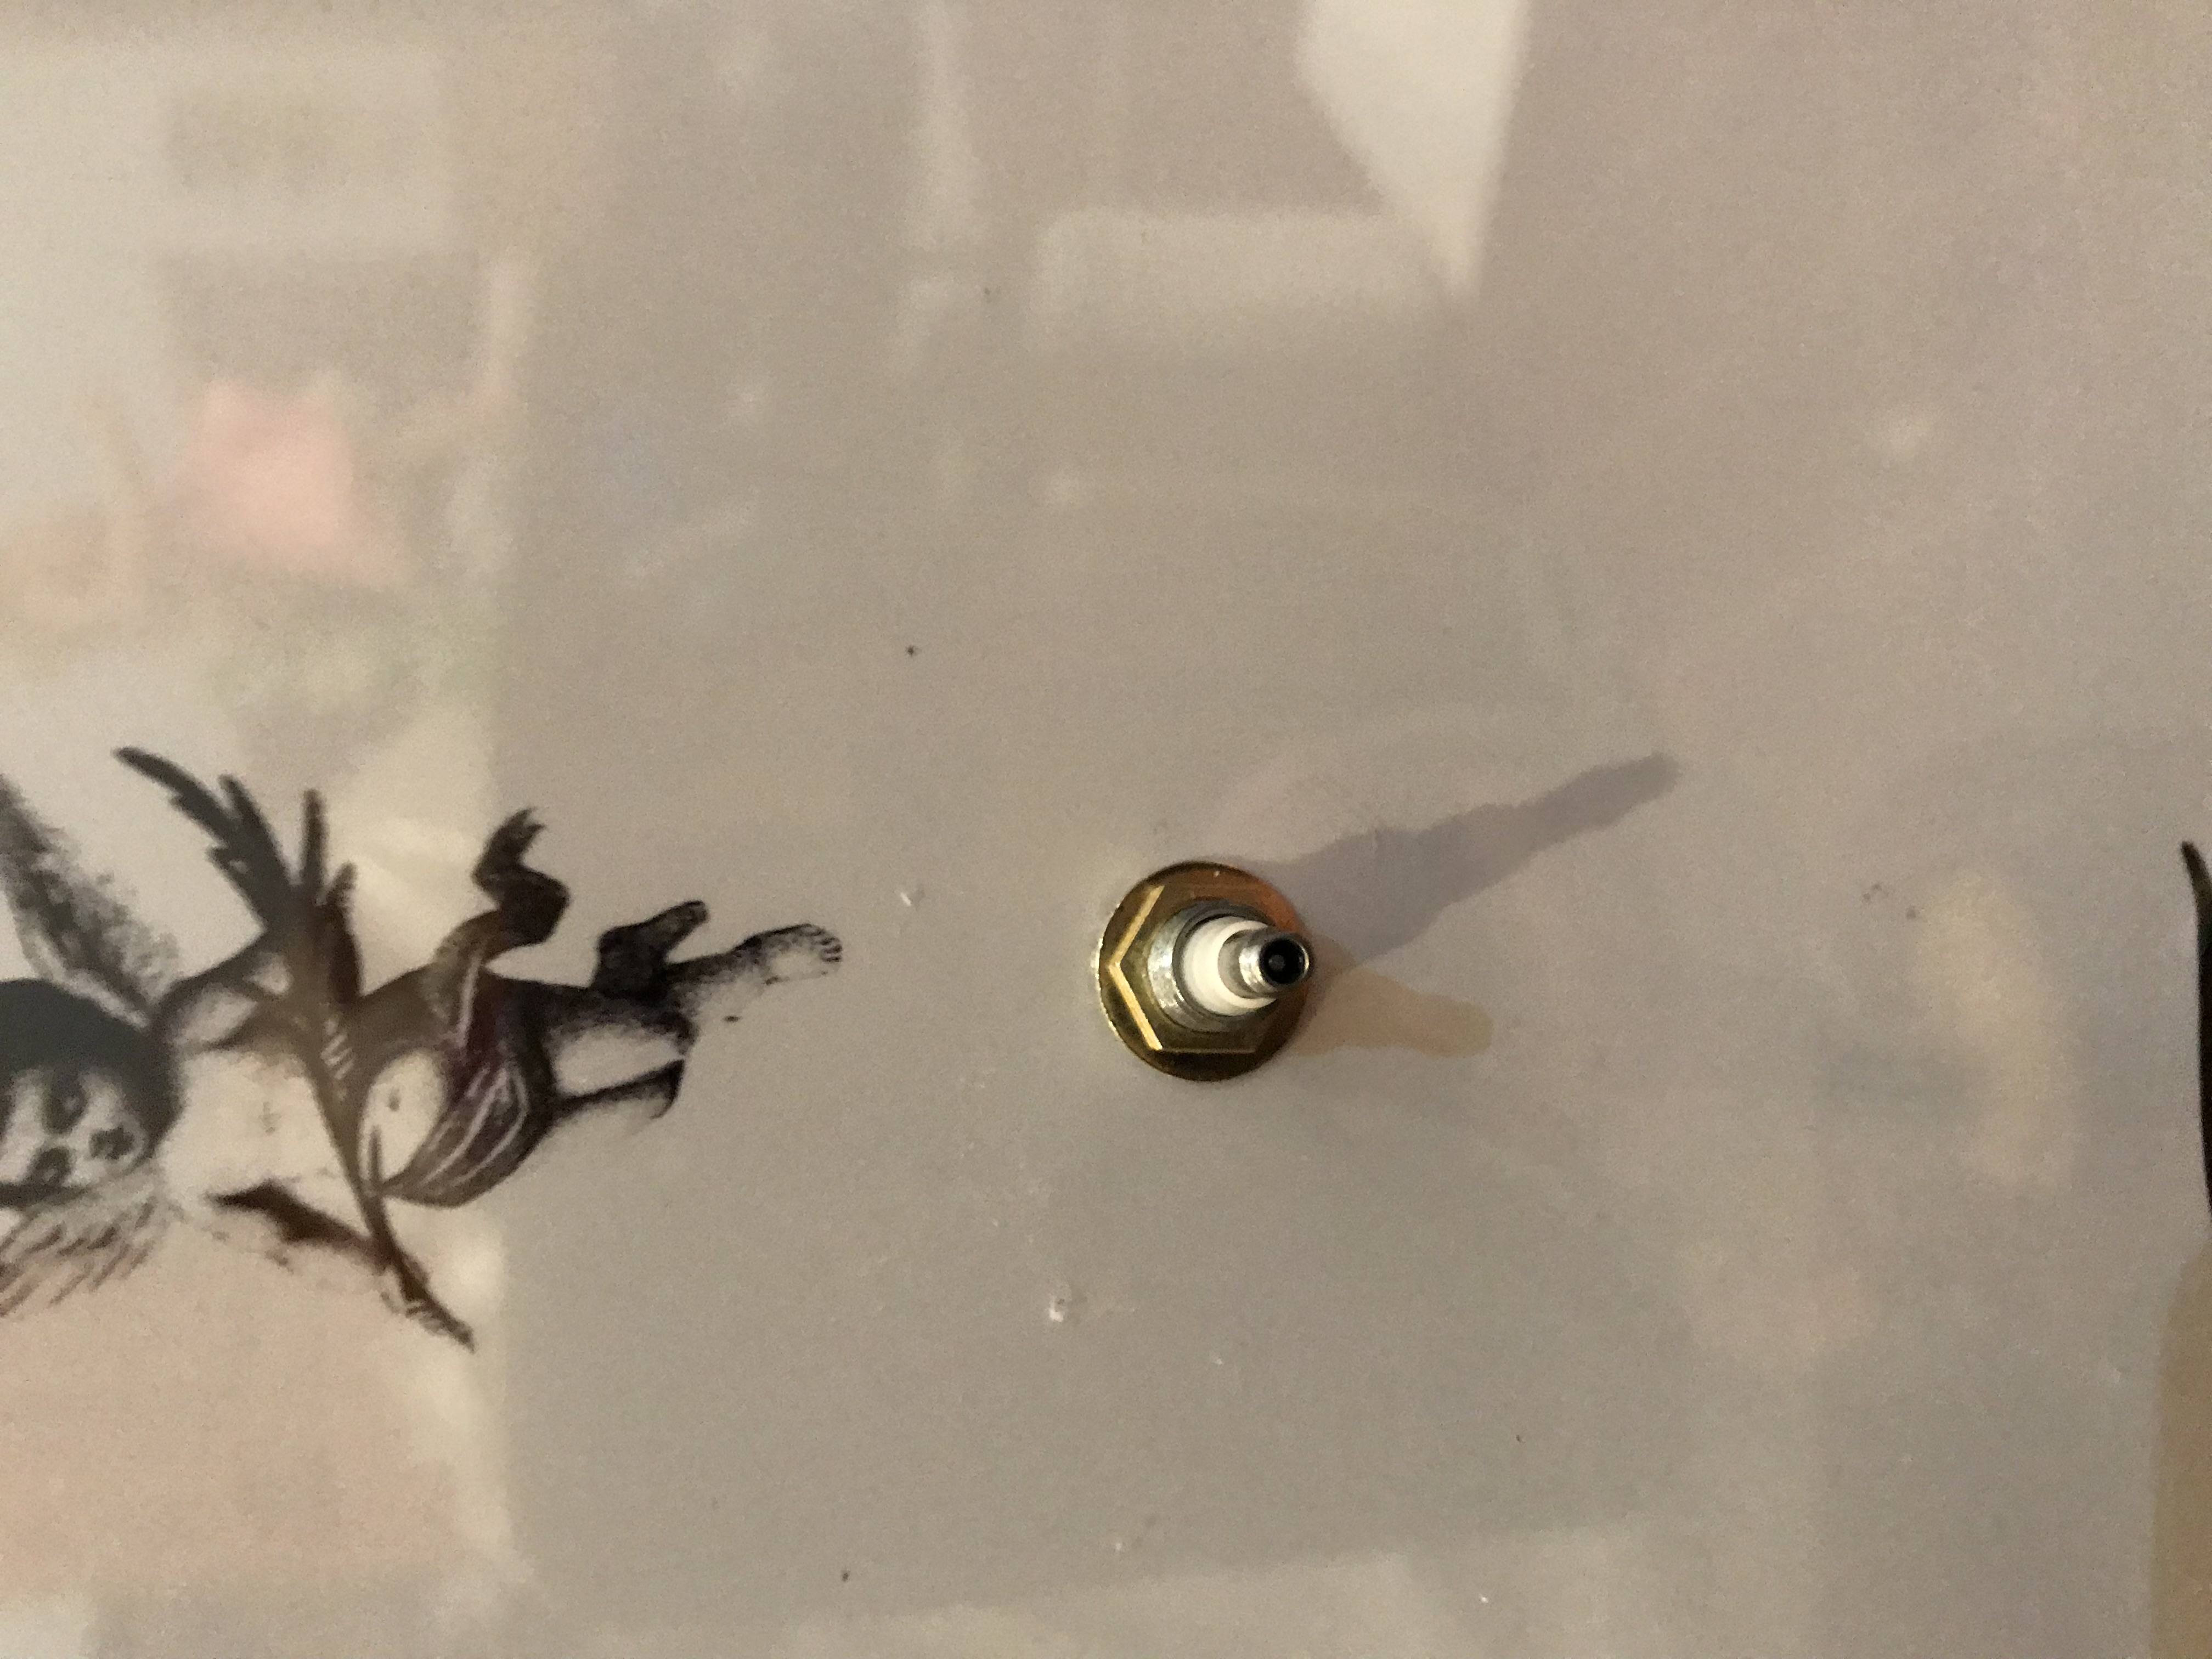
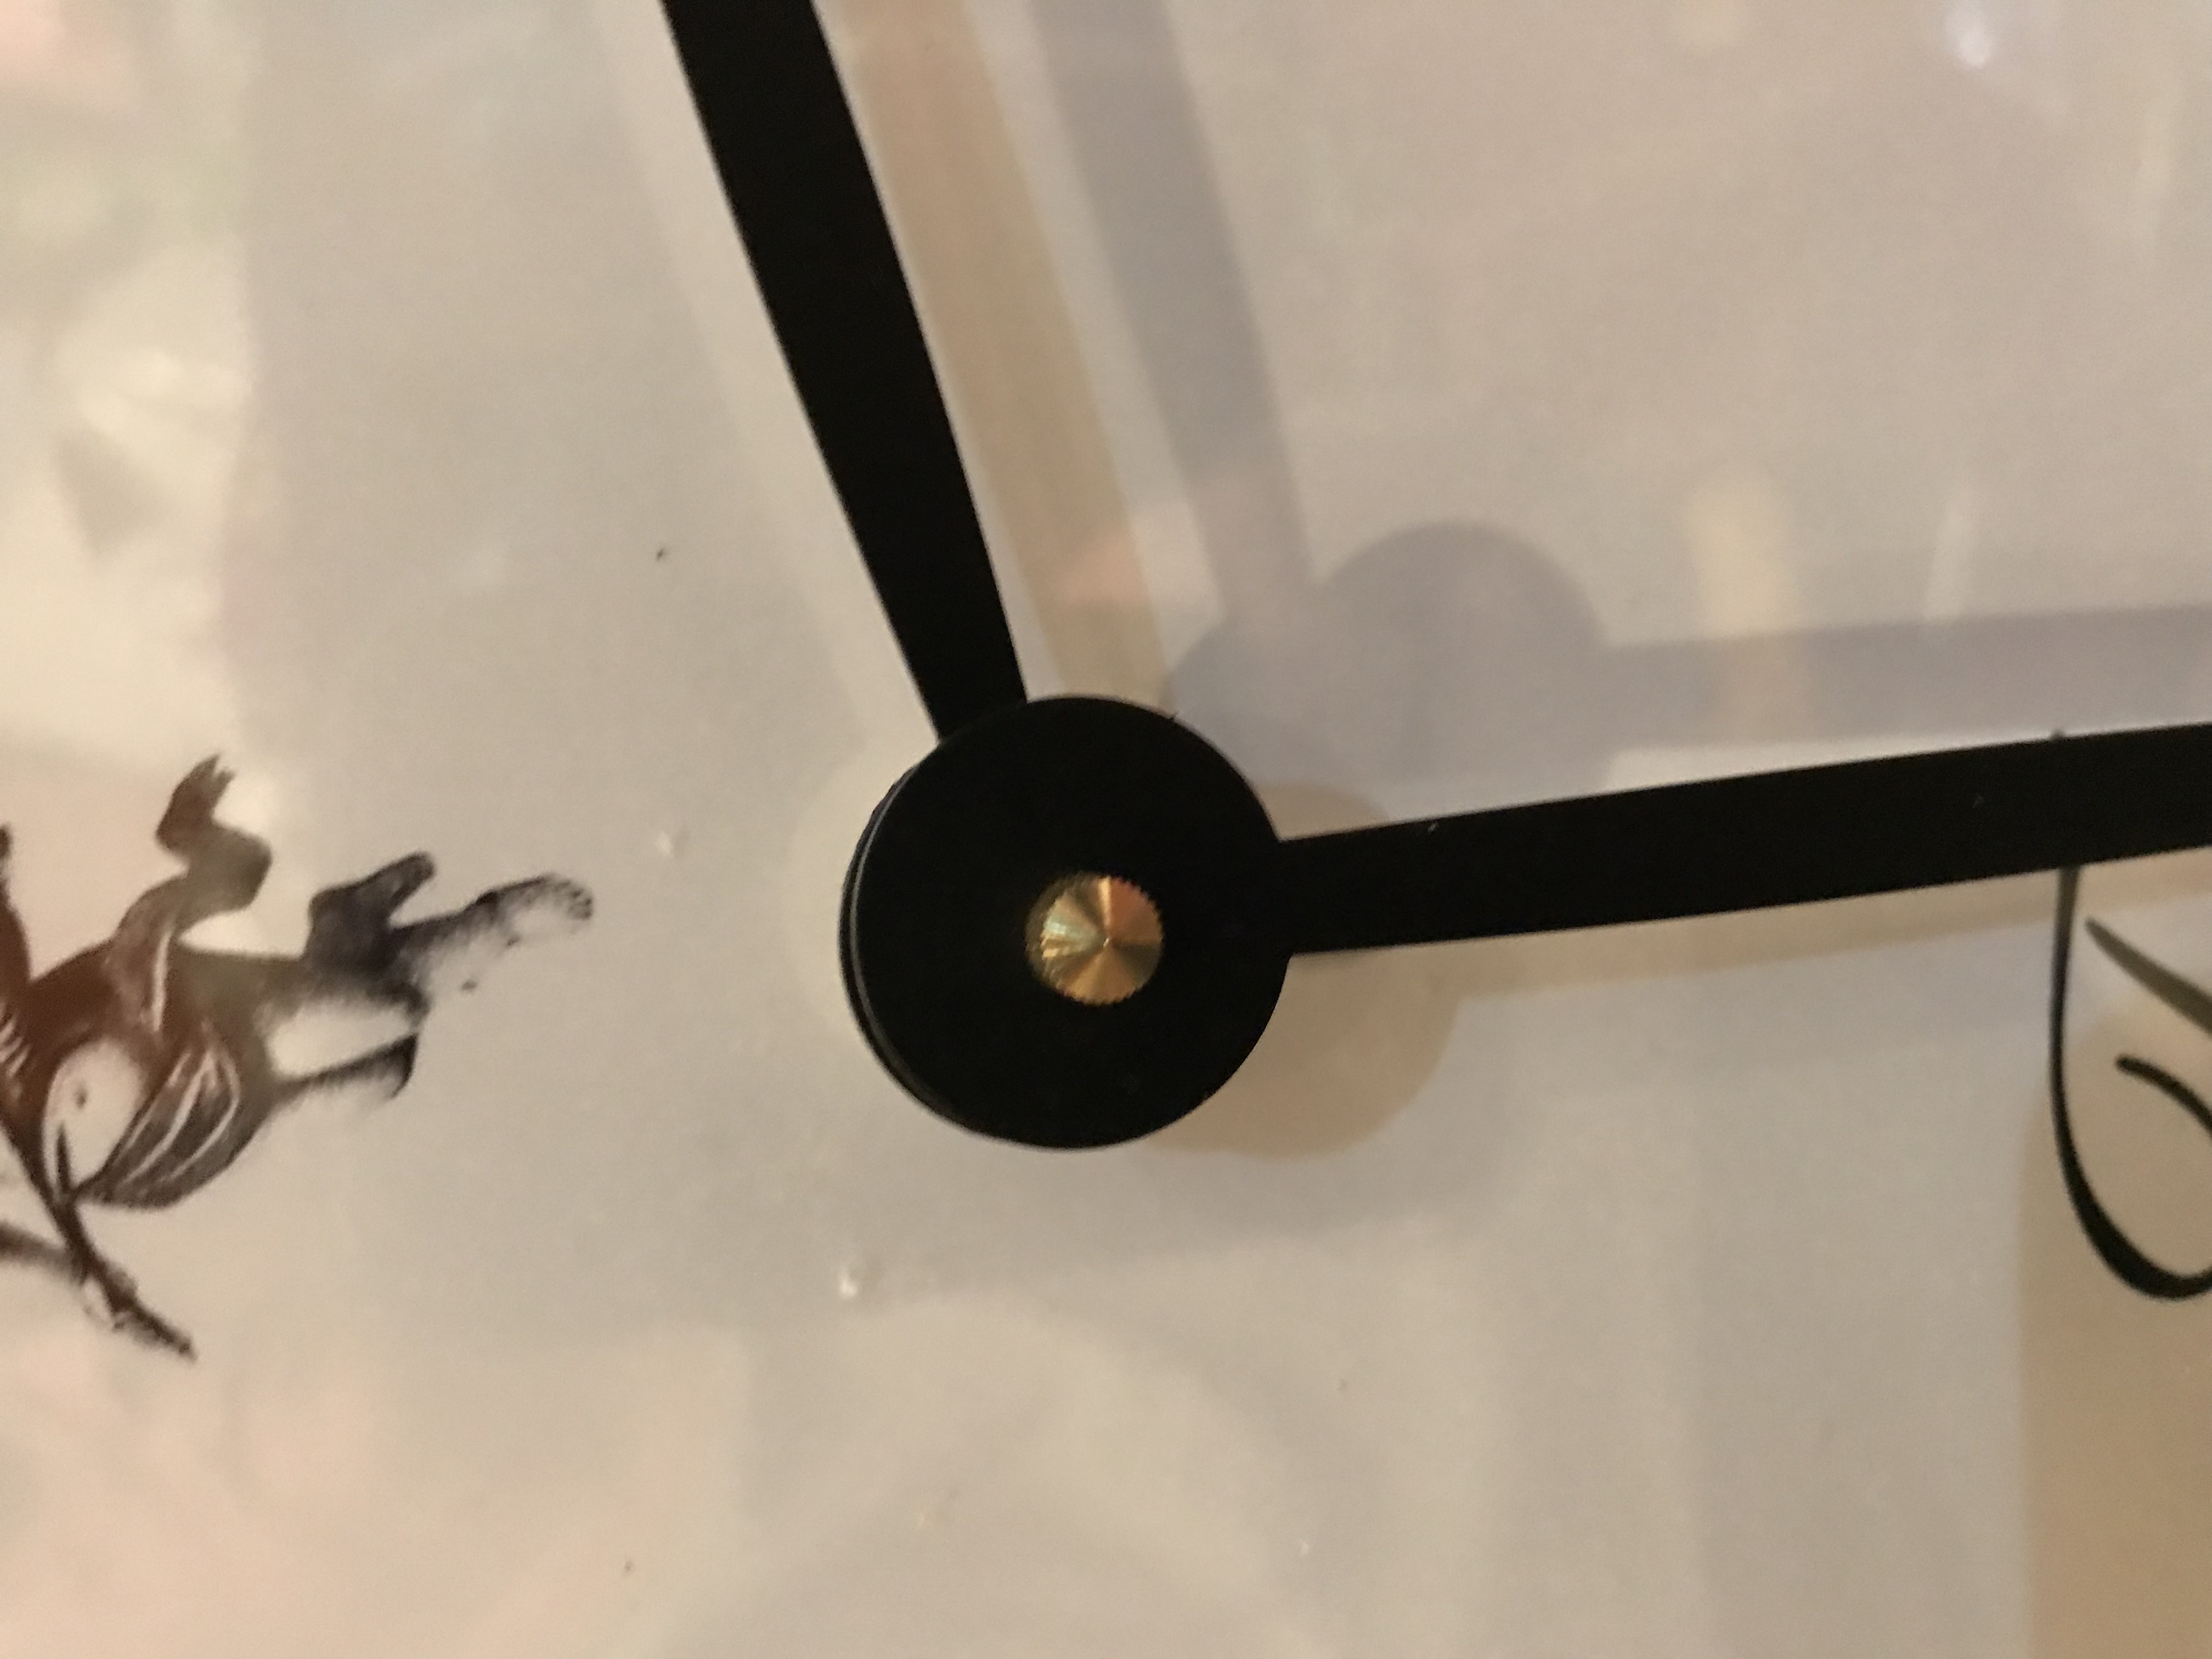
Place the flat brass washer on the movement stem.
Place the six sided brass nut on the movement stem. Hand tighten only. It should be snug but not digging down into the plexiglass. If you have trouble getting it to tighten down against the plexi-glass you can always take the movement back out and put a little two sided tape between the movement and the back of the frame to help secure it. We have found that some types of plexi-glass is too slick for the nut to grip. This will hold the movement to the background.
Now slide the hour hand onto the movement shaft. In case your not sure the hour hand is the shorter of the two hands. You need to slide it down snug. The hour hand will have a slit in it so it can be expanded a little if needed. This allows the hand to adjust to several brands of movements. A quick note about the hands. We offer a wide range of sizes and styles on our website. Please remember that if your using hands over 6" long you will need to use a high torque movement.
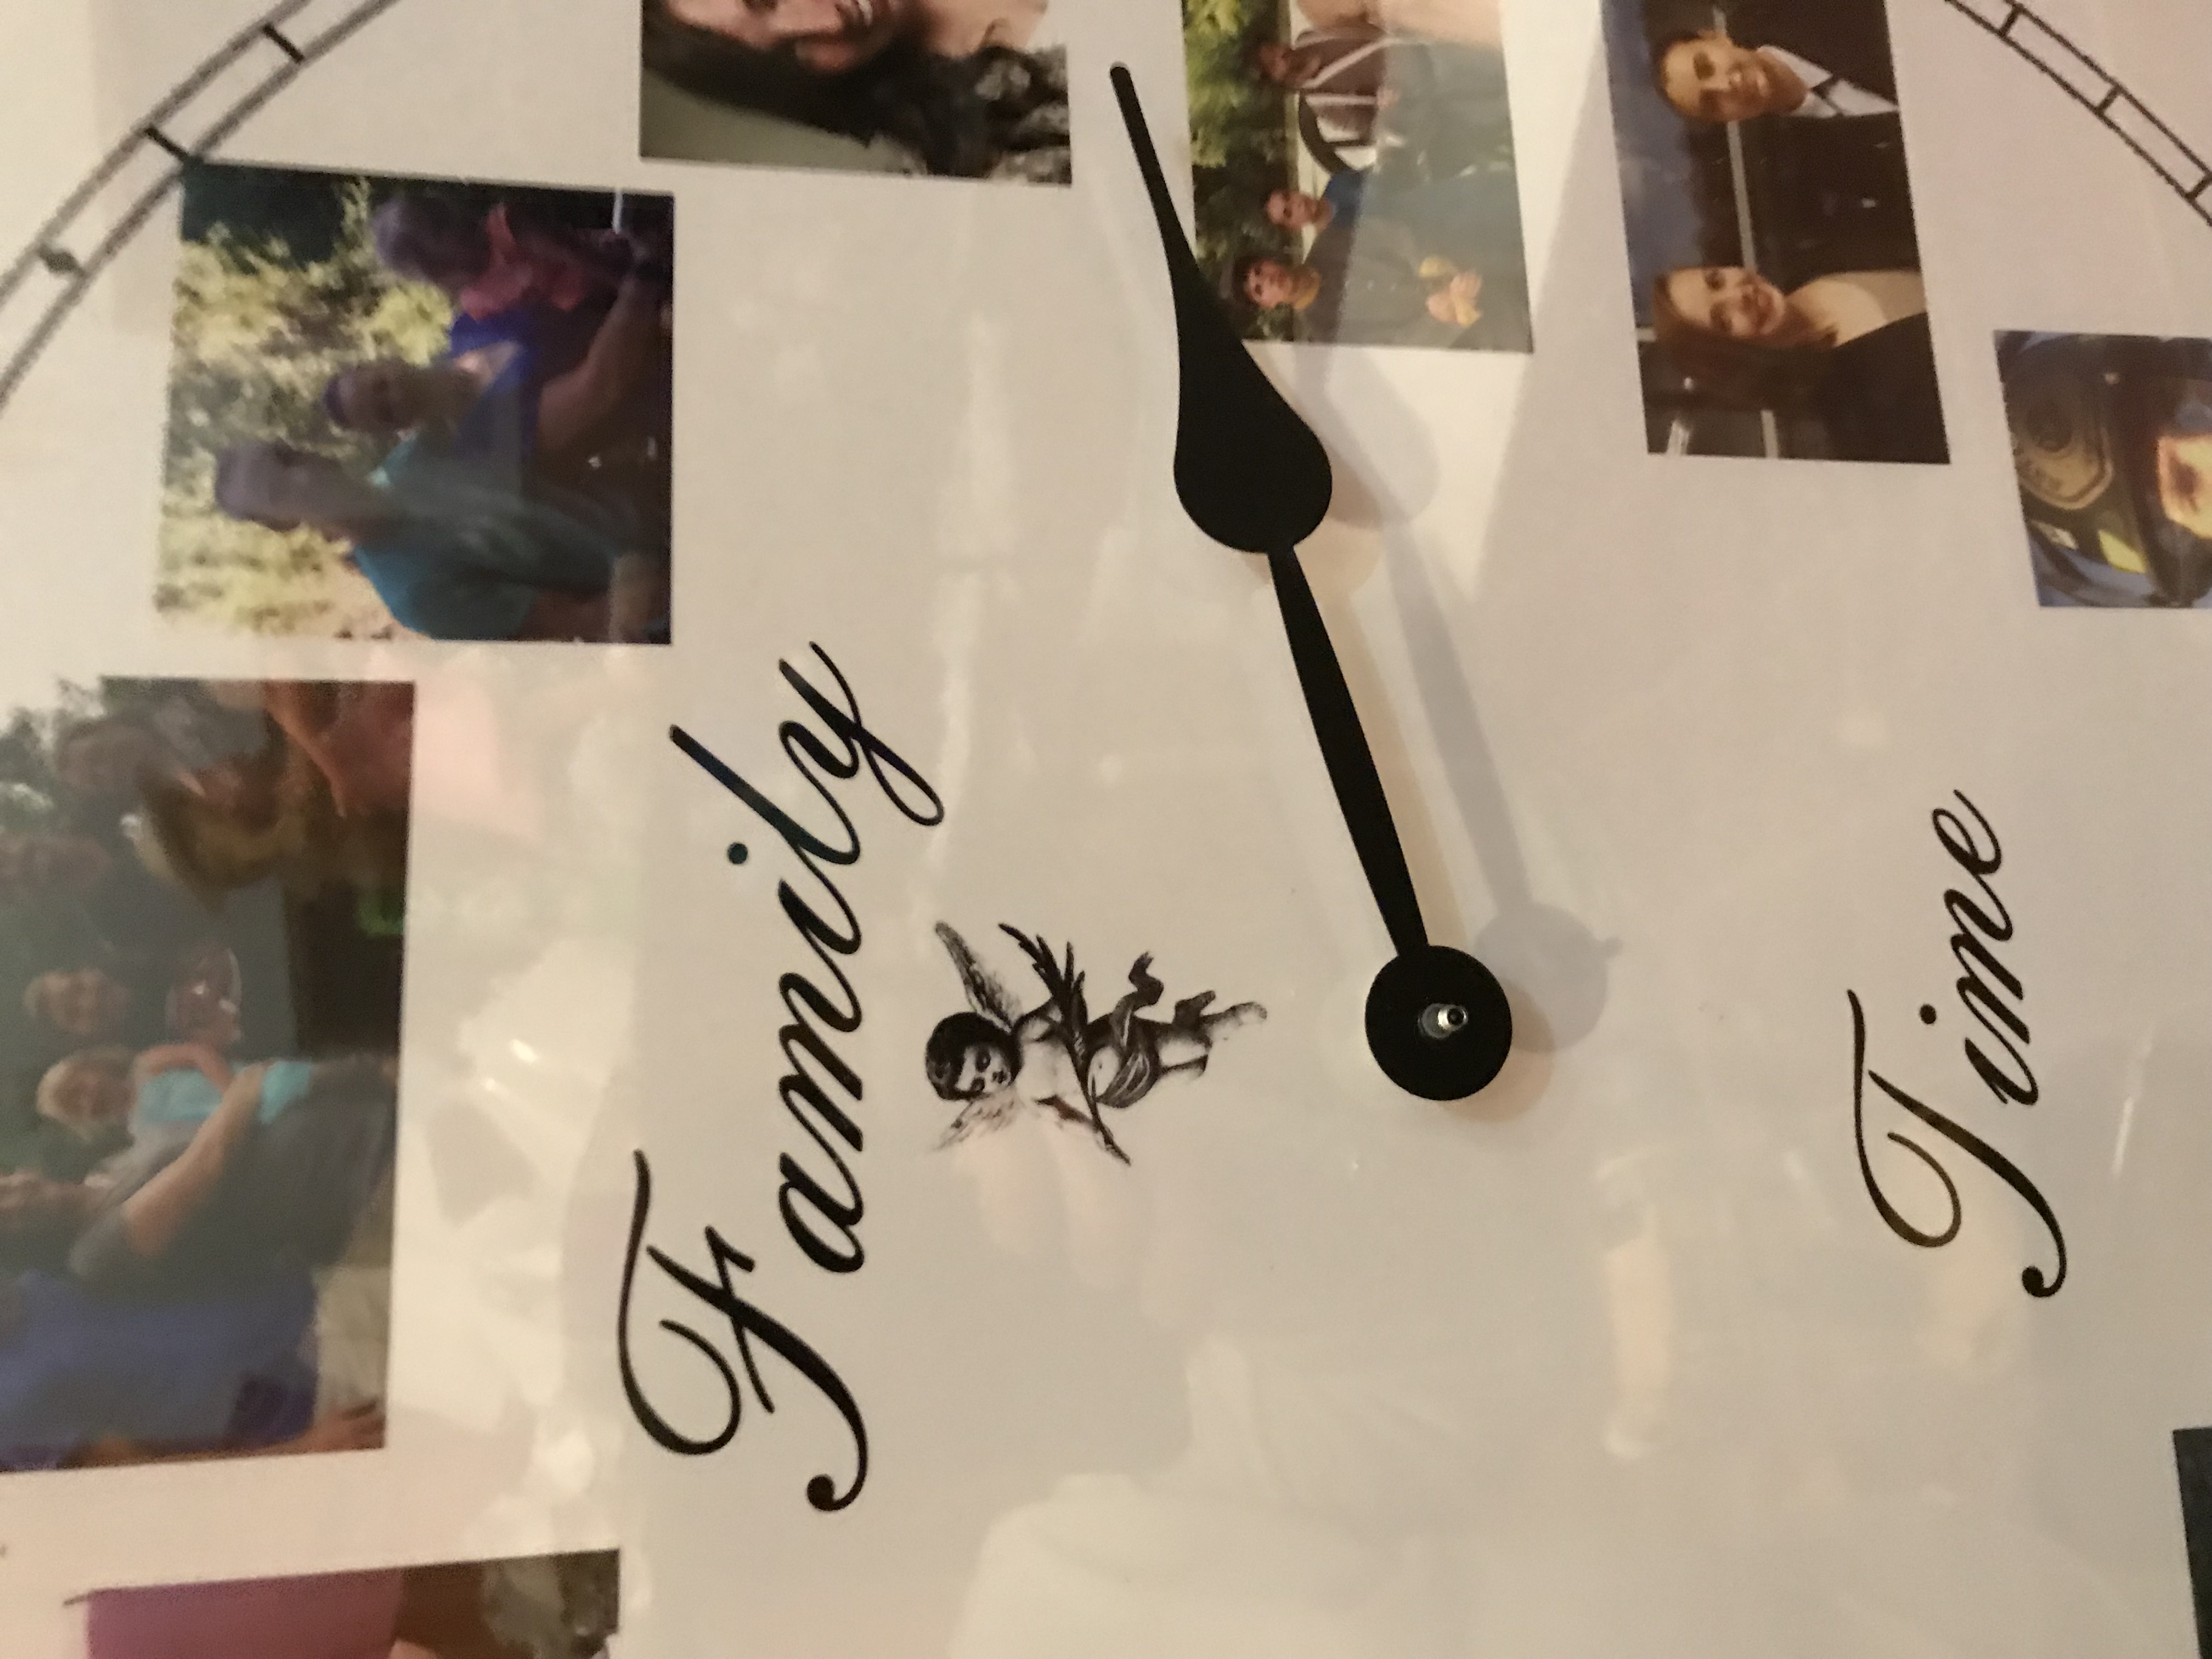
Placing the minute hand on the movement shaft requires lining up the flat part of the hole and the flat part of the threads on the movement shaft. This can take a little patience. If you are using your a different brand movement this step may be slightly different. After your minute hand is on you will need to secure it with either the small brass hand nut or the cap nut. Use the cap nut if you are not using a second hand or sometimes called a sweep. If your not using a second hand you can technically use either but the cap nut gives it a more finished look. Some models of these movements do not come with both options.
If you are using a second hand you will now need to slide it over the small pin in the middle of the movement shaft. On our example clock we decided not to use a second hand.
Congratulations! You just completed your clock. Remember you can use this basic method with many types of backgrounds, frames, or even items around the house. We often have customers who want to convert their children's artwork or favorite sports jersey into clocks. On our website we also have the instructions for converting a cowboy boot into a mantel clock.
We would like to thank everyone who contributed pictures for our example clock. And a very special congratulations to Mr. and Mrs. Earl Hunt on their 50th Anniversary! This clock was made for their anniversary using pictures of their kids and grandkids. A great way to get them a family picture without getting all the kids and grandkids one place.